
- Value of Product
- 4 out of 5
- Quality of Product
- 4 out of 5
- Ease of Installation
- 4 out of 5
Catharina, Greensburg, US ·
10 Free Samples • 2-Day Rush $5
Financing Available
Fit Or Free Guarantee
Free Shipping
60-Day Satisfaction Guarantee
 Shown in Grassy Knoll
Made to order, ships in 4–6 business days.
Unbeatable Price Guarantee
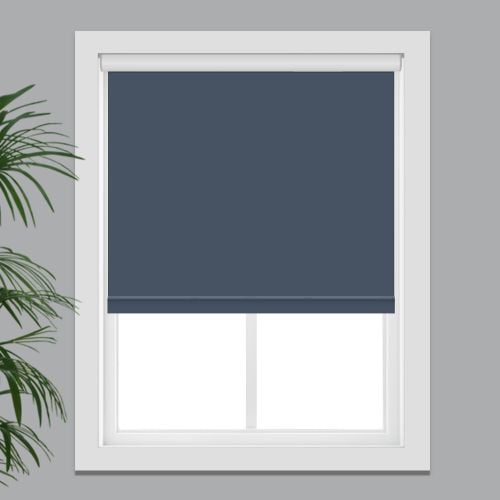 Inside Mount
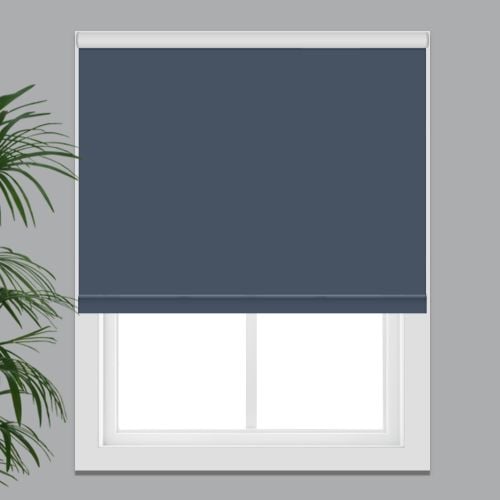 Outside Mount
Measurements to the nearest 1/8 inch.
Fit or Free Guarantee. If for any reason your window coverings don't fit, even if you make a mistake in measuring, we'll remake them in the size you need free of charge.
 Nylon Beaded Chain
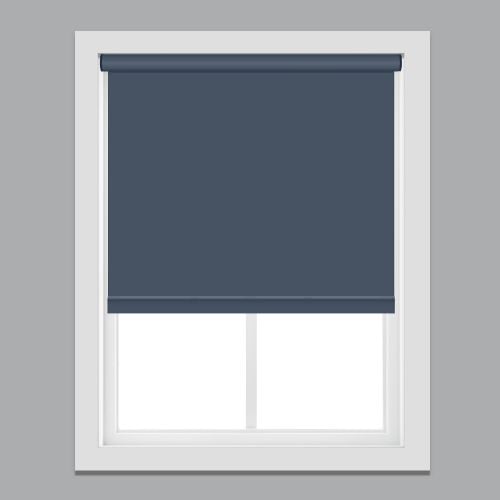 Cordless
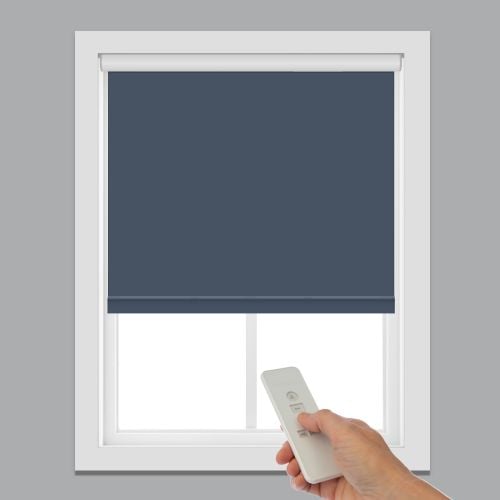 Battery-Powered Motorized
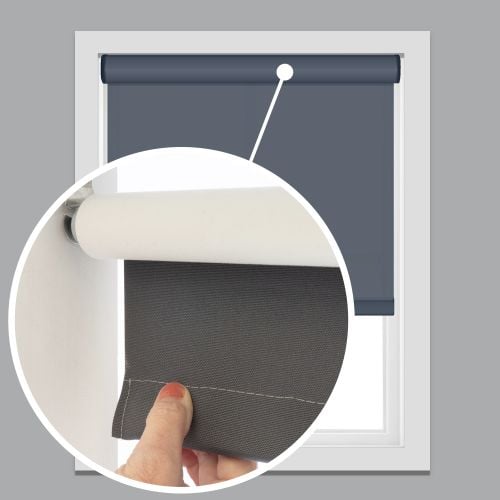 Standard Roll
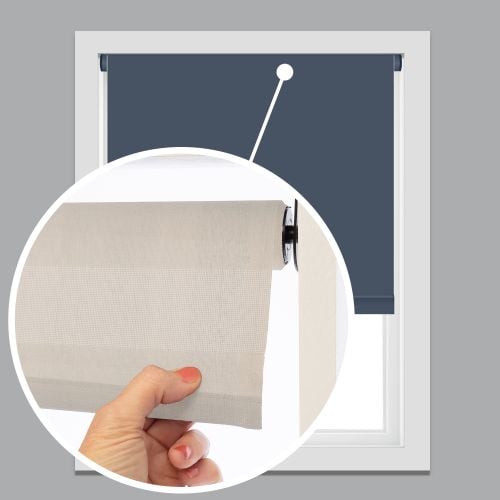 Reverse Roll
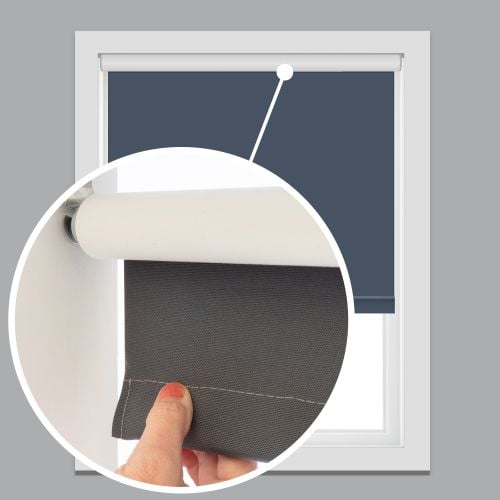 No Cassette Valance
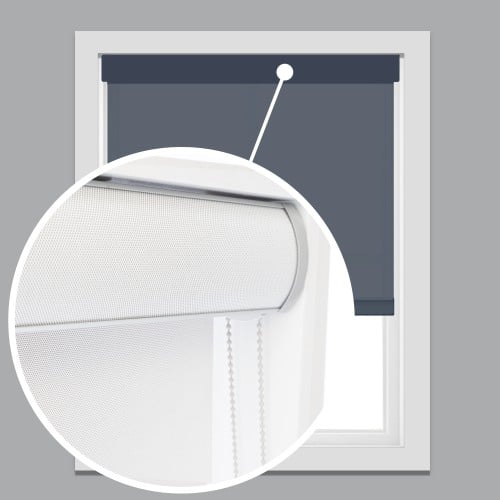 Yes
Pay over time with  at checkout.
Real windows, in real homes
Revamped with new fabrics, operating systems and features, our Premium Blackout Roller Shades are the answer for blocking light from coming into your room, whether it’s morning, noon, or night! The shade fabric is designed to block 100% of light which means sunlight, moonlight, and streetlamps will no longer prevent you from getting a good night’s sleep (or a well-deserved nap).
The saying goes that there can be too much of a good thing. That holds true for light too, especially when too much coming through your window is disruptive. Whether it's the glare on your TV screen or bright light keeping you awake, our Premium Blackout Roller Shades are your solution for toning down that light and getting to your happy place. With these shades, pull them down a bit or all the way to get just the right amount of light or none at all. Your hand-picked options let you take control just the way you want.
Get to know this shade:
The best things about this product:
Key considerations:
Made to order, ships in 4–6 business days.
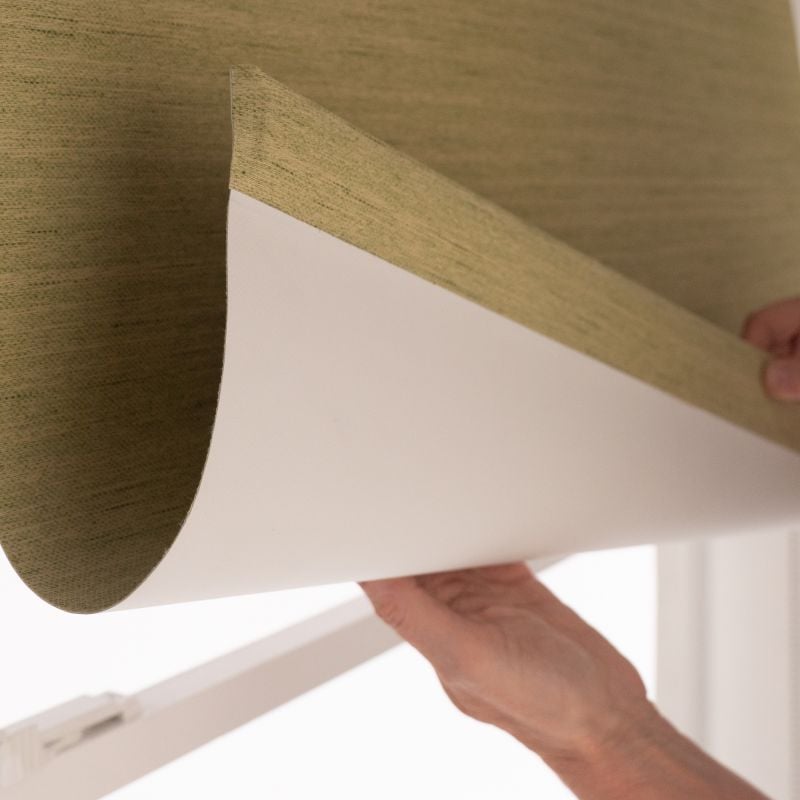
Blackout fabric allows 0% of light to pass through the shade; white backing provides neutral appearance to the street
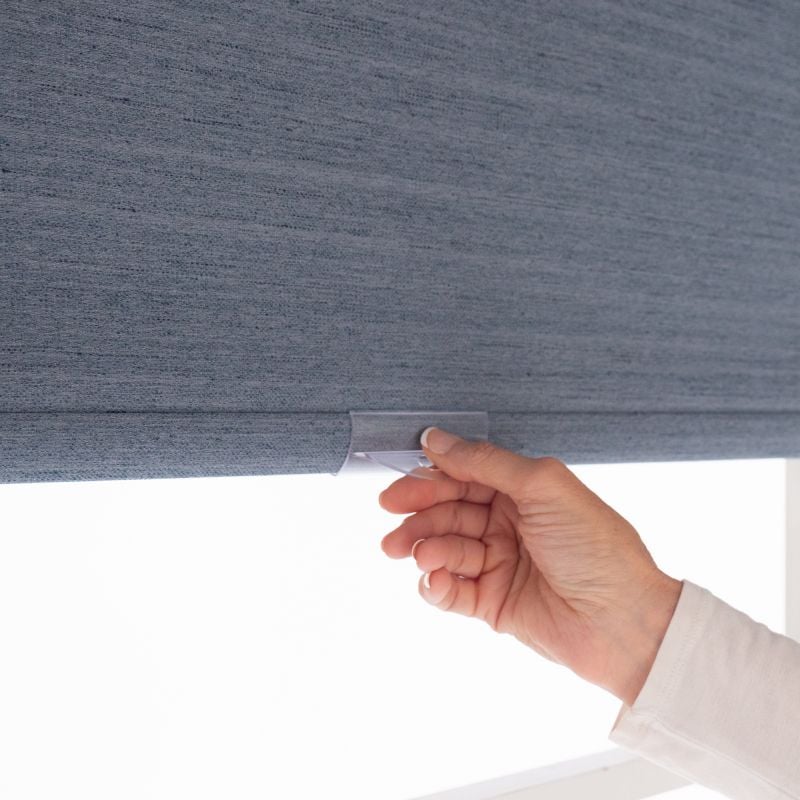
The optional Easy-Stay Cordless Lift provides effortless operation and an uncluttered look
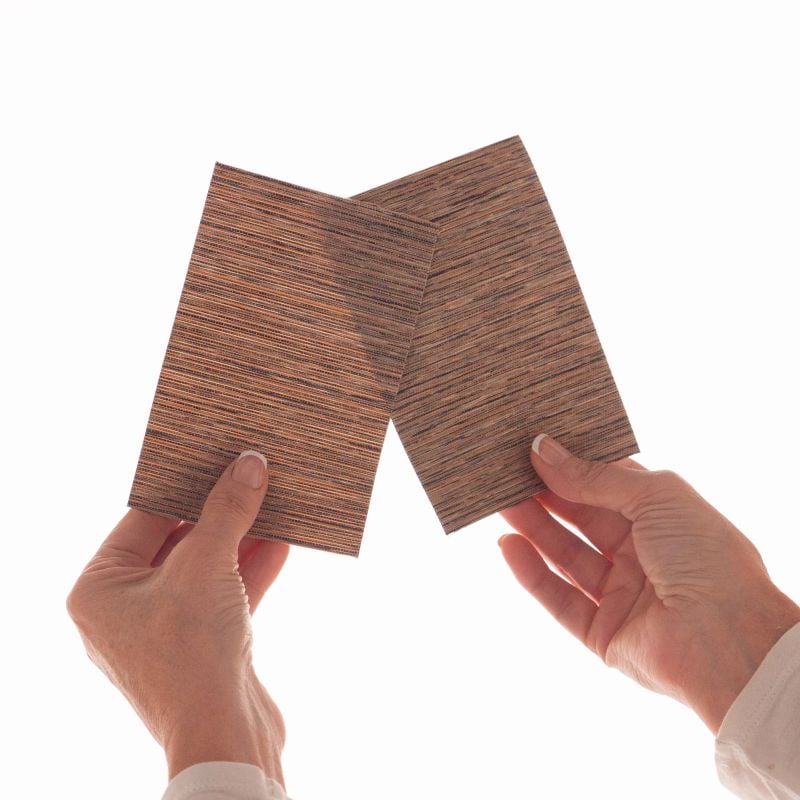
Most fabrics are also available in our Premium Light Filtering Roller Shades, so you can mix and match light control in different rooms with the same fabric color
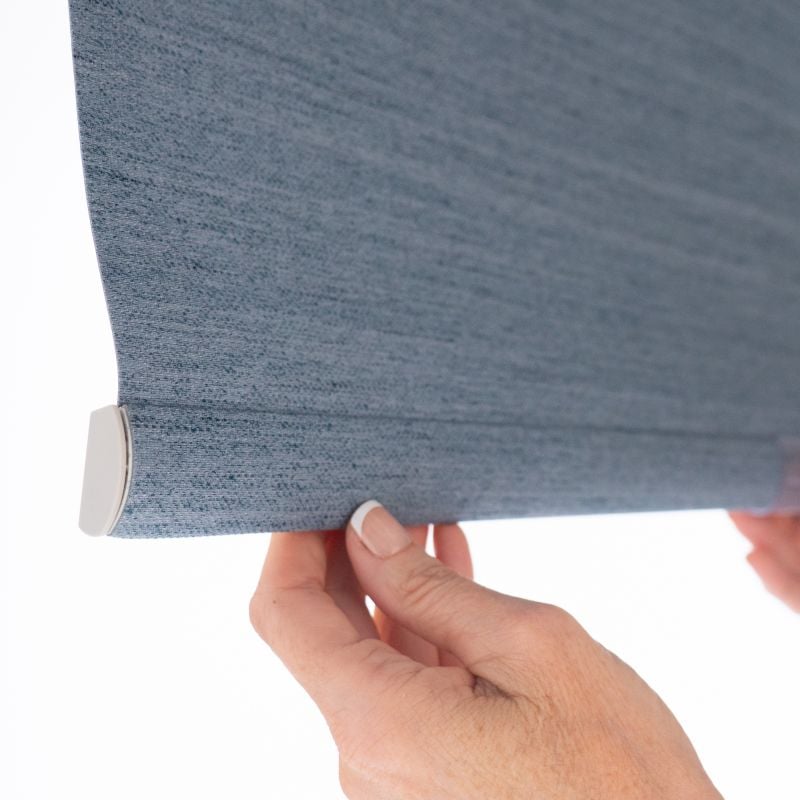
The Omni Curved Wrapped bottom rail comes with coordinating color endcaps.
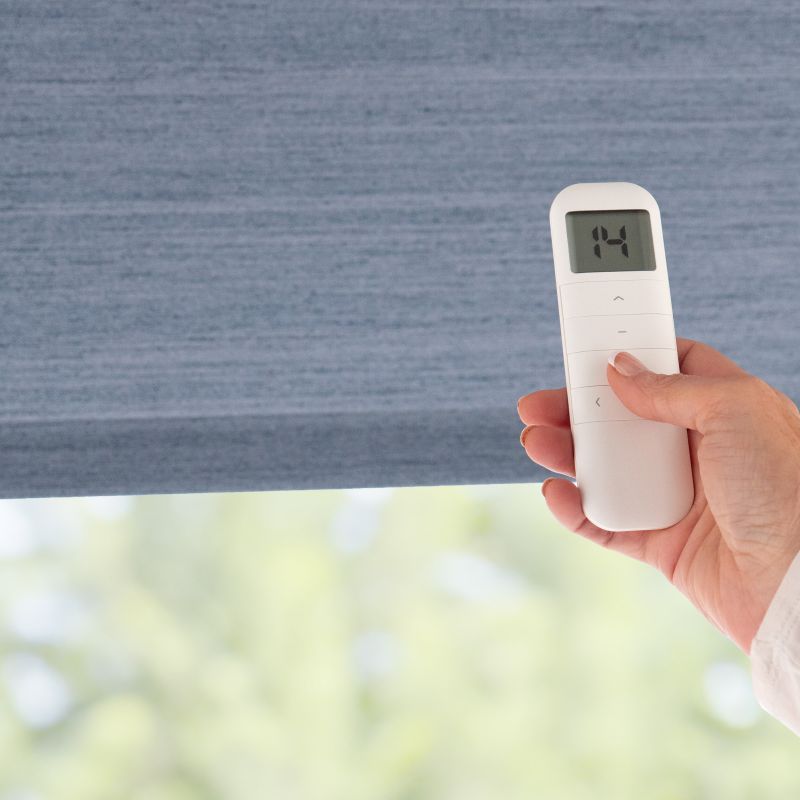
Upgrade to the ultimate in convenience with motorized lift control – operate multiple shades easily by remote control, even out-of-reach windows
1 3/8 inches
1 ½ inches
1 5/8 inches
4 inches
2 1/8 - 4 inches (depending on roll diameter)
4 3/8 inches
Approximately 3/16 inch
Approximately 1 5/16 inches for inside mount and 1 1/8 inches less for outside mount
1 7/16 inches less when inside mount and 1 ¼ inches less when outside mount
1 7/16 inches when ordered as inside mount and 1 ¼ inches when ordered as outside mount
1 5/16 inches less when inside mount; 1 1/8 inches less when outside mount
1 7/16 inches inside mount and 1 ¼ inches outside mount
1 7/16 inches less when inside mount and 1 ¼ inches less when outside mount
3 min read
Let's make sure an inside mount will work for your window! Using a metal tape measure, first check if you have sufficient depth:
How to Measure:
Let's start with the Width:
Now, let's do the Height:
Note: Always provide us with the actual measurement of the window opening. We will make the necessary deduction of approximately 3/16" to the width of the top of the shade to accommodate the installation brackets.
The fabric portion of the shade will be approximately 1 1/4" – 1 7/16" narrower than the ordered width (up to 3/4" gap on each side between the window opening and the edge of the fabric). When maximum light blocking is needed, consider an outside mount or an alternate product.
No deductions will be made to the ordered height.
3 min read
Before you start measuring, decide where above your window opening you want to mount your shade. You will need at least 1 1/4" of flat vertical space above the window to mount the brackets for shades without a cassette valance, or at least 4" for shades with a cassette valance. Follow the directions below for where you'd like to install your shade.
If you do not have sufficient vertical space for mounting the brackets, please see our inside mount instructions or consider a different product.
Your ordered width will be the "tip to tip" measurement, which is the widest part of the top of the shade including the brackets and cassette valance (if applicable). The fabric portion of the shade will be approximately 1 1/16" – 1 1/4" narrower than the ordered width (up to 5/8" on each side). If you wish to have the fabric cover a specific width, we recommend ordering slightly wider – just ensure that you have enough horizontal space to mount the shade.
Width:
Height:
Width:
Height:
Note: The shade fabric may rub against the trim when operating. If your trim is more than 1/2" thick, consider adding shims (not included) under the brackets for additional clearance. If your trim is 3/4" or thicker, we recommend ordering the shade with the reverse roll option.
Width:
Height:
Width:
Height:
Note: We offer magnetic hold-downs for this product which can be requested during the ordering process. These should be installed for a successful door mount as they secure the shade at the bottom of the door so that it does not swing when the door opens and closes.
2 min read
Let's make sure you have what you need!
What came with your blinds?
What else will you need in order to complete the installation?
*If applicable to your order.
IMPORTANT: Do not remove the paper wrapping around the shade's fabric until the shade is installed. Removing this paper prior to installation could result in the fabric shifting on the tube or it might alter the stop location of the fabric.
Download the PDF below for a complete step by step guide on how to install your inside mount shades.
4 min read
Let's make sure you have what you need!
What came with your blinds?
What else will you need in order to complete the installation?
*If applicable to your order.
IMPORTANT: Do not remove the paper wrapping around the shade's fabric until the shade is installed. Removing this paper prior to installation could result in the fabric shifting on the tube or it might alter the stop location of the fabric.
Download the PDF below for a complete step by step guide on how to install your outside mount shades.
I have three windows side by side can I get individual shades and one long valance about 115”
Asked by David B ·
Hello David, thank you for your question. Premium Blackout Fabric Roller Shades. With these, each shade would have its own valance. If you have any further questions, please feel free to give us a call, start a live chat or send us an email!
Answered by Blindster ·
I wish to do an inside mount with a cassette ands so I need a width of coverage to be 53" to cover the edge of the wood trim when pulled downward. I assume that this is my width specification. 1) With the cassette mounted as well (which I will order), it appears that the cassette mounts to the ceiling of the inside frame, correct? 2) Does the roller itself also mount to the ceiling also, and if so, are there 2 brackets to install to the ceiling or 1 for both the roller and the cassette? 3) If the roller shade mounts to the side walls and the cassette mounts to the ceiling, then do I account for a greater width than my space is wider than my desired width of the actual roller? Space width = 55.25" Trim width (cover the window frame size) = 53" Height of space 45.5" Will have cassette to cover roller, and have plenty of depth to account for the 43/8" depth required.
Asked by Scott ·
Hello Scott, thank you for your questions about our Premium Blackout Fabric Roller Shades and the installation process. When ordering this shade with a cassette the shade would sit inside the cassette which has to be top mounted only. To discuss your project in further detail, please feel free to give us a call, start a live chat or send us an email!
Answered by Blindster ·
I am going to order some OUTSIDE mount shades. Your instructional video (in the outside mount segment) says that there will be a deduction made from the ordered shade width for brackets. But that seems to only apply to INSIDE mount shades according to the printed instructions, which say: "Note: Roller shade fabrics will be approximately 1 ¼" inches narrower than your ordering width to allow for brackets. If concerned over resulting light gap please select outside mount." So I would like to know if my ordering width for OUTSIDE mount shades will be exactly the fabric shade width, or something else. I have Rollease shades in my house, where the cassette valance is about an inch longer than the fabric (on the chain side). I am working with tight tolerances so I need to know exactly what I will receive if I order a 60" width outside mount roller shade. Is it the shade fabric or the cassette length?
Asked by Marc C ·
Hello Marc, Thank you for your question! When ordering an outside mount, the bracket-to-bracket or end-of-cassette-to-end-of-cassette measurement will match the exact size you ordered, with no additions. However, the material itself will always be slightly less (1 1/4") than the ordered measurement. This is necessary to ensure proper rolling and functionality. If you need the material to cover a specific area, you’ll need to add to your overall measurement accordingly. The reason we suggest ordering an outside mount would be because on the inside mount you can not add to your measurements if you want the material to be a certain width.
Answered by Blindster ·
4.8
Based on 15 reviews
Summarized by AI from customer reviews
Customers praise the exceptional quality and durability of these shades, along with their outstanding blackout performance that effectively blocks light. They appreciate the easy installation, convenient remote control operation, and wide selection of colors available. Many satisfied customers have made repeat purchases, highlighting their confidence in the product's long-lasting functionality and reliable performance.
15 reviews
Catharina, Greensburg, US ·
Really like the ability to control them from my chair.
James, Oshkosh, US ·
Deborah, Caro, US ·
Response from Blindster
Glad to hear it, Jordan! Thank you for choosing Blindster!
Jordan, Phoenix, US ·
Quick manufacturing and delivery; shipped well protected; excellent quality; easy to install; blackout feature great in the bedroom.
Response from Blindster
Hi Janice, thank you so much for your fantastic 5-star review of our Premium Blackout Fabric Roller Shades! We’re delighted to hear that you enjoyed the quick manufacturing and delivery process, and that the quality met your expectations. It’s great to know they are easy to install and that the blackout feature is working wonderfully in your bedroom!
Janice, Clinton Township, US ·
New version not as good as 3yrs. Earlier! Retraction not like older model also no reason to change colors, pull tabs better on older model
Response from Blindster
Hi William, thank you for your feedback on the Premium Blackout Fabric Roller Shades! We’re grateful you came back to order from us again and appreciate you pointing out the differences you noticed. Your comments help us continuously improve our products. We hope you continue to enjoy your shades!
William ·
Real homes, and our showroom
3 min read
Let's make sure an inside mount will work for your window! Using a metal tape measure, first check if you have sufficient depth:
How to Measure:
Let's start with the Width:
Now, let's do the Height:
Note: Always provide us with the actual measurement of the window opening. We will make the necessary deduction of approximately 3/16" to the width of the top of the shade to accommodate the installation brackets.
The fabric portion of the shade will be approximately 1 1/4" – 1 7/16" narrower than the ordered width (up to 3/4" gap on each side between the window opening and the edge of the fabric). When maximum light blocking is needed, consider an outside mount or an alternate product.
No deductions will be made to the ordered height.
3 min read
Before you start measuring, decide where above your window opening you want to mount your shade. You will need at least 1 1/4" of flat vertical space above the window to mount the brackets for shades without a cassette valance, or at least 4" for shades with a cassette valance. Follow the directions below for where you'd like to install your shade.
If you do not have sufficient vertical space for mounting the brackets, please see our inside mount instructions or consider a different product.
Your ordered width will be the "tip to tip" measurement, which is the widest part of the top of the shade including the brackets and cassette valance (if applicable). The fabric portion of the shade will be approximately 1 1/16" – 1 1/4" narrower than the ordered width (up to 5/8" on each side). If you wish to have the fabric cover a specific width, we recommend ordering slightly wider – just ensure that you have enough horizontal space to mount the shade.
Width:
Height:
Width:
Height:
Note: The shade fabric may rub against the trim when operating. If your trim is more than 1/2" thick, consider adding shims (not included) under the brackets for additional clearance. If your trim is 3/4" or thicker, we recommend ordering the shade with the reverse roll option.
Width:
Height:
Width:
Height:
Note: We offer magnetic hold-downs for this product which can be requested during the ordering process. These should be installed for a successful door mount as they secure the shade at the bottom of the door so that it does not swing when the door opens and closes.
2 min read
Let's make sure you have what you need!
What came with your blinds?
What else will you need in order to complete the installation?
*If applicable to your order.
IMPORTANT: Do not remove the paper wrapping around the shade's fabric until the shade is installed. Removing this paper prior to installation could result in the fabric shifting on the tube or it might alter the stop location of the fabric.
Download the PDF below for a complete step by step guide on how to install your inside mount shades.
4 min read
Let's make sure you have what you need!
What came with your blinds?
What else will you need in order to complete the installation?
*If applicable to your order.
IMPORTANT: Do not remove the paper wrapping around the shade's fabric until the shade is installed. Removing this paper prior to installation could result in the fabric shifting on the tube or it might alter the stop location of the fabric.
Download the PDF below for a complete step by step guide on how to install your outside mount shades.
40% off with your email code
Inside MountOutside MountNylon Beaded ChainCordless+$60.56Battery-Powered Motorized+$383.60Nylon beaded chains will be color-coordinated to the shade color.
**Please note that shades ordered less than 32" in height will receive a METAL beaded chain.
Standard RollReverse RollNo Cassette ValanceYes+$102.37Pay over time with at checkout.