Skip to content

10 Free Samples • 2-Day Rush $5

Financing Available

Fit Or Free Guarantee

Free Shipping

60-Day Satisfaction Guarantee

Blindster
AccountCart

From our customers

Real windows, in real homes

Product Information

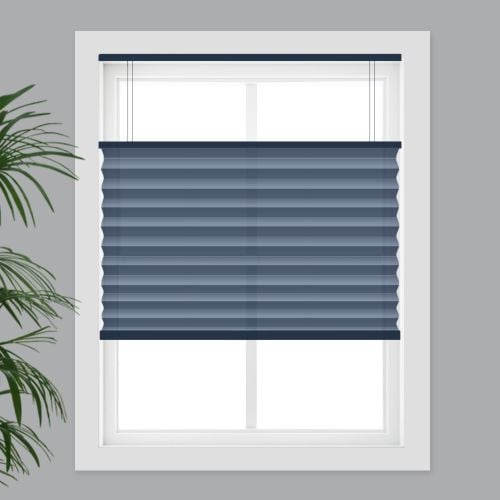
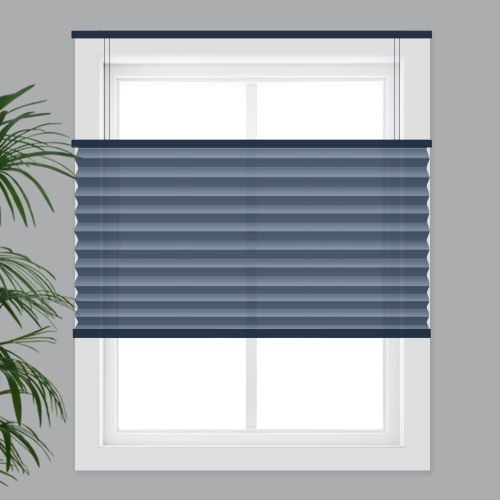
We took our original Deluxe pleated shade and gave it top-down/bottom-up functionality for optimal privacy and view control. Now you can also lower the shade from the top to let in natural light without sacrificing privacy. The cordless lift feature makes it easy to raise and lower the shade.

  • Best For Privacy & View Control
  • No Lift Cords
  • Fabric Options
See what makes it special →

Classic and timeless, this pleated shade complements all types of decor and can instantly make any room feel warm and welcoming. The soft, neutral fabrics gently filter sunlight into the room. There are two fabric styles to choose from. Our crisp, classic Oxford fabric features a tight weave and smooth texture that provides great light filtering and privacy. The Linen fabric allows in a bit more light vs Oxford, and has a natural woven look with a beautiful texture. To operate the shade, just push or pull on either the top or bottom of the shade. There are no bothersome and unsightly cords to deal with and it's safer for kids and pets.

Get to know this shade:

  • Fabric is the same color on the front and back and is made from durable 100% woven polyester
  • Shade is formed into crisp 1" fabric pleats
  • PVC headrail and bottomrail color-coordinate to your selected shade color

Why you'll love this shade:

  • Top-down/bottom-up shade provides natural light and retains privacy for windows facing the street or neighbors' homes
  • Cordless operation means easy lifting of the shade, no messy dangling cords, and is a safer product for small children
  • Pleated design creates intriguing textural interest in the window, and shade stacks neatly when raised
  • Light filtering fabric softens bright incoming light and helps distribute light more evenly in the room while providing privacy
  • Meets all CPSC child safety guidelines

Key considerations:

  • Cordless shade is opened by pulling on the top or bottom of the shade – be sure you can reach the top of your window
  • Bottom and top of shade can be operated independently, however top of shade can be lowered only about half the length of the shade regardless of position of bottom of shade; bottom of shade can be fully raised when top of shade is also fully raised

Great for:Living RoomOfficeKitchenDining RoomEntry WayUtility Room

  • Child & Pet Safety

Made to order, ships in 8–10 business days.

Key Features

Snap-In Brackets

Snap-In Brackets

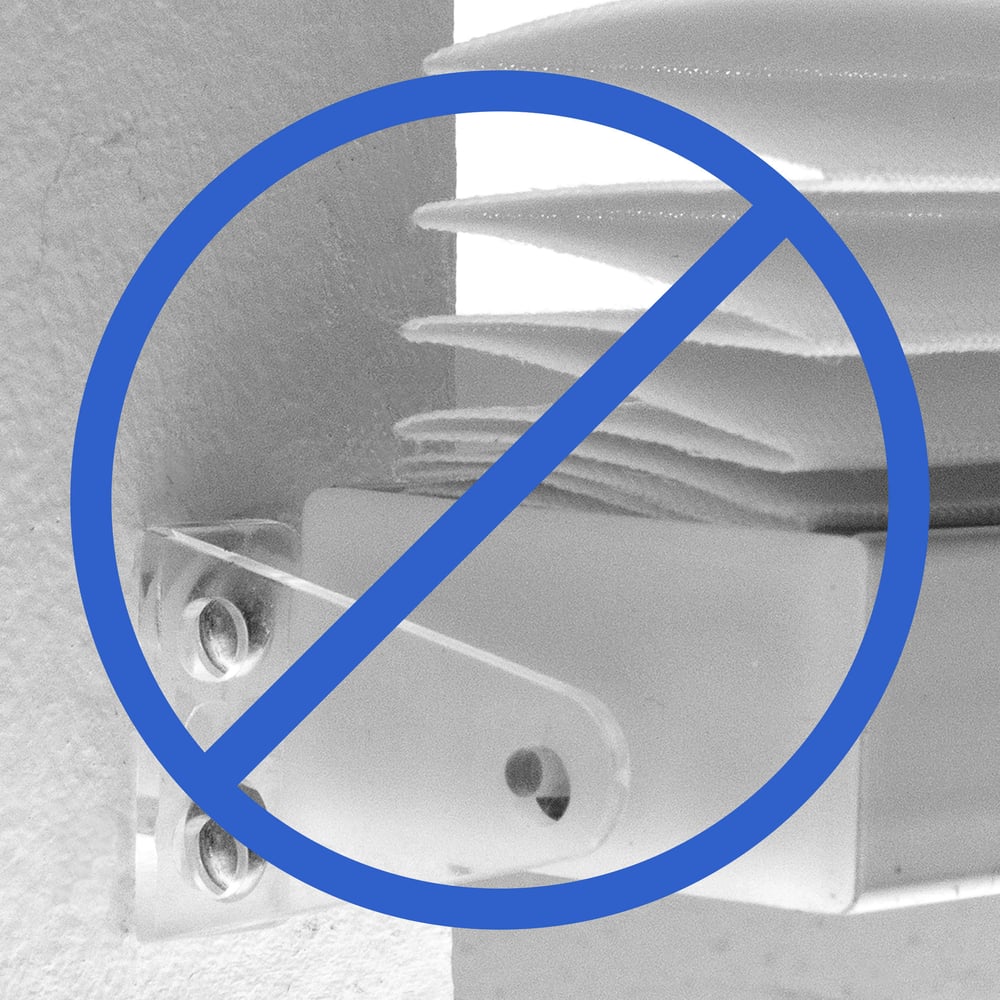
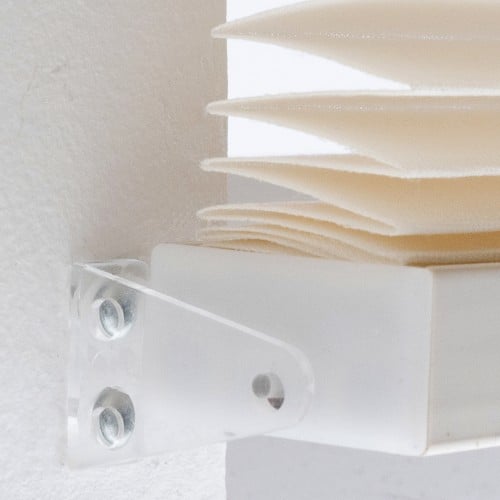
Top mount brackets snap in easily for a seamless installation. 

Deluxe Cordless Lift

Deluxe Cordless Lift

Grab the small clear handle to adjust the shade as needed. 

Top Down Bottom Up Functionality

Top Down Bottom Up Functionality

Open the shade from the top down or the bottom up to find your ideal amount of privacy and view. 

Specifications & Restrictions

Width
18 1/2" – 72"
Height
24" – 84"
Min depth for inside mount

1 ½ inches 

Depth required for flush mount

2 3/8 inches

Min Flat Space For Outside Mount

2 inches

Inside Mount Width Deduction

Approximately 3/8 inch

Restrictions

  • Cordless Top Down Bottom Up is the only lift type
  • No 2 on 1 headrail option
  • Due to a recommendation from the Consumer Safety Commission, top can only be lowered half the length of the shade

How to Measure

How to Measure: Inside Mount

3 min read

Let's make sure an inside mount will work for your window!  Using a metal tape measure, first check if you have sufficient depth:

  • Measure inside the window opening from the back of the window to the front of the opening where the shade would mount. The depth at the top of the window must be at least 1 1/2" to mount the brackets. To have a flush mount (meaning the shade is fully recessed in the window opening) the depth must be at least 2 3/8". If your depth is not sufficient for mounting the brackets, please see our outside mount instructions or consider a different product.

How to Measure:

Let's start with the Width:

  • Measure inside of the window opening/frame from left to right to the nearest 1/8" at three places: at the top of the opening, the middle of the opening, and then the bottom of the opening. Write down all 3 measurements and circle the narrowest. If rounding is necessary, round down to the nearest 1/8".  That is your ordering width.

Now, let's do the Height:

  • Measure the inside of the window opening/frame from the top of the opening to the bottom of the opening/sill to the nearest 1/8" in three places: on the left-hand side, the middle, and on the right-hand side. Write down all 3 measurements and circle the tallest. That is your ordering height.

Note: Always provide us with the actual measurement of the window opening. We will make the necessary deduction of approximately 3/8" to your shade's width to allow room for installation and for proper movement of the shade within the window opening. No deductions will be made to your height. 

How to Measure: Outside Mount

3 min read

Before you start measuring, decide where above your window opening you want to mount your shade. You will need at least 2" of flat vertical space above the window to mount the brackets. The shade can be installed directly above the window opening, or higher up to give the appearance of a larger window and to have more clear space in the window when the shade is raised. 

If you have trim around the window, you can mount the shade above the trim, directly on the trim (if you have the required minimum flat space for the brackets), or to the sides of the trim if you do not enough mounting space above the window or on the trim itself. See the directions below for how you'd like to install your shade.

If you do not have sufficient vertical space for mounting the brackets, please see our inside mount instructions or consider a different product.

Width:

  • Looking at your window and surrounding wall, decide what area you would like to cover. We recommend the shade extends about 2" on each side of the window opening for the best light control and appearance. 
  • Using a metal tape measure, measure from left to right including your desired extra space on each side of the window—that is your ordering width.

Height: 

  • Consider how far above the window you would like to install your shade but at least starting with the minimum vertical space referenced above. The shade can be positioned higher up to give the appearance of a larger window and to have more clear space in the window when the shade is raised. 
  • Measure from the top of where you will mount the shade on the wall down to where you want the bottom of the shade to be, using the same extra space below your window opening as you used above; if you have a protruding windowsill, measure down to the top of the sill. That is your ordering height.

Width:

  • Looking at your window and surrounding wall, decide what area you would like to cover. We recommend the shade extends about 2" on either side of the window opening for the best light control and appearance. You can also choose to have the shade the same width as your window trim.
  • Using a metal tape measure, measure from left to right including any desired extra space on each side of the window—that is your ordering width.

Height: 

  • Consider how far above the window you would like to install your shade but at least starting with the minimum vertical space referenced above. The shade can be positioned higher up to give the appearance of a larger window and to have more clear space in the window when the shade is raised. 
  • Measure from the top of where you will mount the shade on the wall down to where you want the bottom of the shade to be, using the same extra space below your window opening as you used above, or to the bottom edge of the trim if you prefer; if you have a protruding windowsill, measure down to the top of the sill. That is your ordering height.

Width:

  • Confirm that the height of your trim is at least the minimum height required for installing the mounting brackets. At the top of your window, use a steel measuring tape and measure from outer edge to outer edge of the trim.  That is your ordering width.

Height: 

  • Measure from the top of your trim to the bottom of your trim or to the top of the windowsill if you have a protruding sill. That is your ordering height.

Width:

  • Using a metal tape measure, measure left to right from the outside edge of the trim piece that goes around the glass to the other outside edge. That is your ordering width. However, if you have space, it is best to order the shade about 2" wider for better light control.

Height:

  • Consider how far above the window trim piece you would like to install your shade but at least starting with the minimum vertical space referenced above. Measure down to where you want the bottom of the shade to be, using the same extra space below the window trim piece as you used above. That is your ordering height.

Note: We carry complimentary hold-downs (door brackets) which can be requested during the ordering process. These should be installed for a successful door mount as they secure the shade at the bottom of the door so that it does not swing when the door opens and closes.

How to Install

How to Install: Inside Mount

2 min read

Let's make sure you have what you need!  

What came with your blinds?

  1. Mounting brackets*
  2. 1 1/8" screws (two per bracket)
  3. Handle for bottom rail

What else will you need in order to complete the installation?

  1. Rechargeable drill with 3/32" drill bit & ¼" drill bit
  2. Phillips screwdriver
  3. Pencil
  4. Tape measure
  5. Ladder

*Quantity will vary depending on width. Regarding mounting brackets- if your shade is 18 ½"-36 7/8" wide you will have two mounting brackets. If your shade is 37"- 47 7/8" wide you will have three mounting brackets. If your shade is 48"-72" you will have four mounting brackets. 

Please note that brackets and componentry may be updated or substituted over time due to availability or product improvements.

Download the PDF below for a complete step by step guide on how to install your inside mount blinds. 

Download printable instructions (PDF) (opens in a new tab)

How to Install: Outside Mount

4 min read

Let's make sure you have what you need!  

What came with your blinds?

  1. Mounting brackets*
  2. 1 1/8" screws (two per bracket)
  3. Handle for bottom rail
  4. Two hold down brackets**
  5. 3/8" hold down screws (two per hold down bracket)**

What else will you need in order to complete the installation?

  1. Rechargeable drill with 3/32" drill bit & ¼" drill bit
  2. Phillips screwdriver
  3. Pencil
  4. Tape measure
  5. Ladder

*Quantity will vary depending on width. Regarding mounting brackets- if your shade is 18 ½"-36 7/8" wide you will have two mounting brackets. If your shade is 37"- 47 7/8" wide you will have three mounting brackets. If your shade is 48"-72" you will have four mounting brackets. 

Please note that brackets and componentry may be updated or substituted over time due to availability or product improvements.


**If applicable to your order.

Download the PDF below for a complete step by step guide on how to install your outside mount blinds. 

Download printable instructions (PDF) (opens in a new tab)

Related Videos

  • Cordless Blinds and Shades

  • How to Measure for Inside Mount Shades

  • How to Measure for Outside Mount Shades

Questions & Answers (43)

Reviews4.8out of 5based on 141 reviews