
Great Experience!!
The blinds came quickly, installing was a snap. We love them!
- Value of Product
- 5 out of 5
- Quality of Product
- 5 out of 5
Cynthia ·
10 Free Samples • 2-Day Rush $5
Financing Available
Fit Or Free Guarantee
Free Shipping
60-Day Satisfaction Guarantee
 Shown in White
Made to order, ships in 2–4 business days.
Unbeatable Price Guarantee
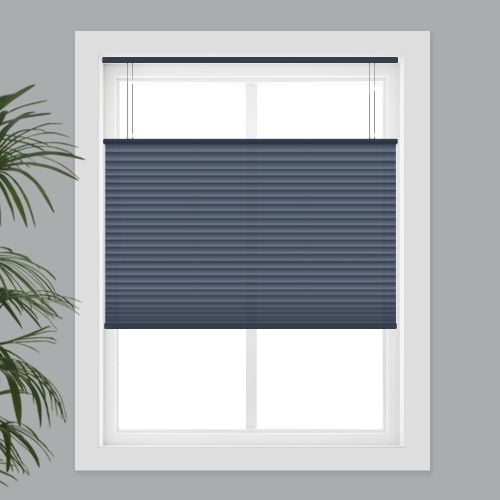 Inside Mount
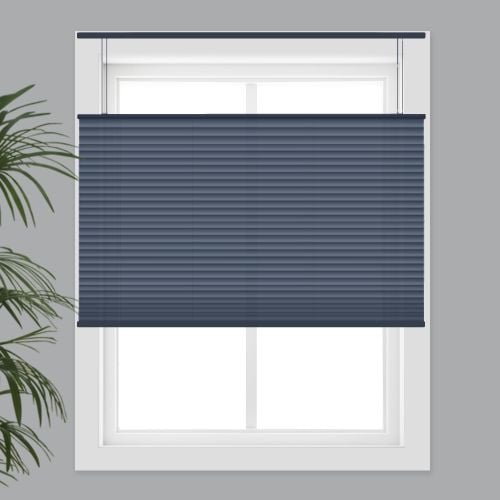 Outside Mount
Measurements to the nearest 1/8 inch.
Fit or Free Guarantee. If for any reason your window coverings don't fit, even if you make a mistake in measuring, we'll remake them in the size you need free of charge.
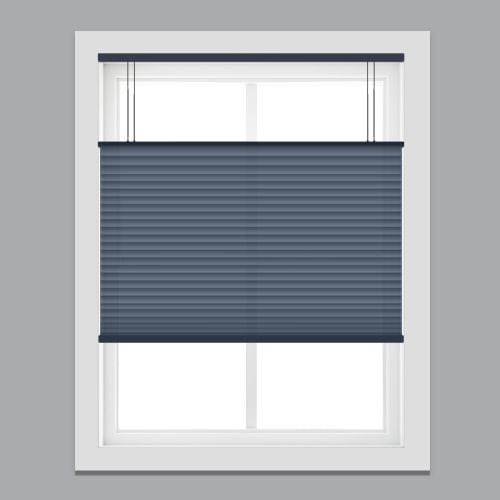 Cordless Top Down Bottom Up
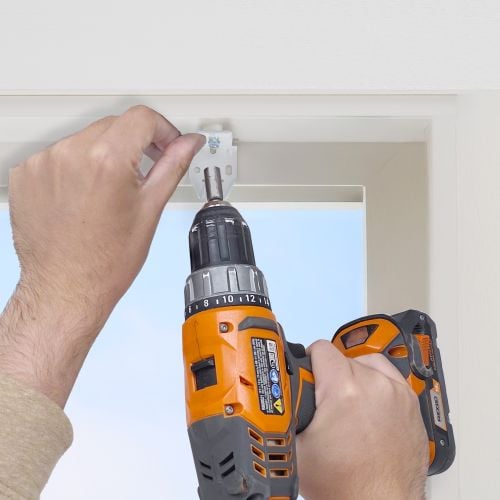 Standard Installation
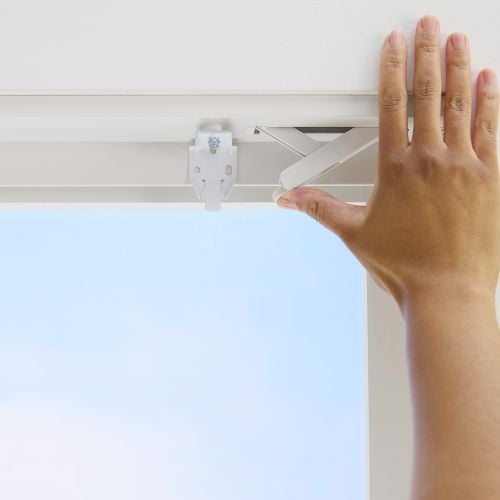 EZ-Mount Installation
Pay over time with  at checkout.
Real windows, in real homes
This cellular shade checks all the boxes for privacy and light control, easy operation, child safety, energy efficiency and good looks. The top-down/bottom-up feature lets you lower the shade from the top to retain privacy while letting in natural light, and cordless control means no fussy pull cords – just pull up or down on the handles to move the shade.
Letting the perfect amount of light into the room is literally at your fingertips with this top down/bottom up cellular shade. The internal cordless mechanism provides "push/pull" operation to easily raise or lower the shade from either the bottom to raise, or from the top to lower – and any combination in between to keep your privacy intact while still letting natural light into the room (especially useful for bedrooms and bathrooms). You'll be sure to love the flexibility, reliability and super value of these dynamic shades!
Get to know this shade:
Why you'll love this shade:
Key considerations:
Great for:Living RoomBedroomOfficeKitchenDining RoomRvEntry WayUtility Room
Made to order, ships in 2–4 business days.

3/4" single cell layer made from 100% polyester works to softly filter light while still maintaining privacy

Open the shade from the top down or the bottom up to find your ideal amount of privacy and view.
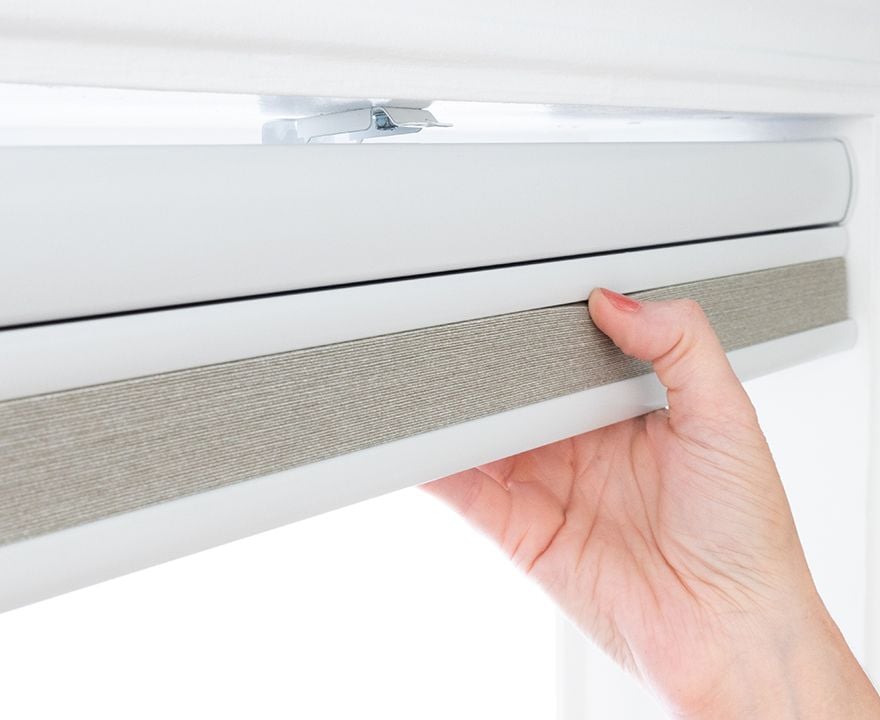
Top mount brackets snap in easily for a seamless installation.
1 ½ inches (Standard Installation) 3 inches (EZ Mount Installation)
2 1/8 inches (Standard Installation) 3 inches (EZ Mount Installation)
1 ½ inches
1 1/8 inches height x 1 7/8 inches depth
Approximately ¼ inch
3 min read
Let's make sure an inside mount will work for your window! Using a metal tape measure, first check if you have sufficient depth:
How to Measure:
Let's start with the Width:
Now, let's do the Height:
Note: Always provide us with the actual measurement of the window opening. We will make the necessary deduction of approximately 1/4" to your shade's width to allow room for installation and for proper movement of the shade within the window opening. No deductions will be made to your height.
3 min read
Before you start measuring, decide where above your window opening you want to mount your shade. You will need at least 1 1/2" of flat vertical space above the window to mount the brackets. The shade can be installed directly above the window opening, or higher up to give the appearance of a larger window and to have more clear space in the window when the shade is raised.
If you have trim around the window, you can mount the shade above the trim, directly on the trim (if you have the required minimum flat space for the brackets), or to the sides of the trim if you do not have enough mounting space above the window or on the trim itself. See the directions below for how you'd like to install your shade.
If you do not have sufficient vertical space for mounting the brackets, please see our inside mount instructions or consider a different product.
Width:
Height:
Width:
Height:
Note: This product is not available with spacer blocks. We recommend considering another product for instances where the shade needs to project away from the wall to clear the window trim.
Width:
Height:
Width:
Height:
Note: This product is not available with hold down brackets (for attaching the bottom of the shade to the door to prevent swaying). We recommend considering a different product if installing on a door where the bottom of the shade is likely to swing back and forth.
2 min read
Let's make sure you have what you need!
What came with your blinds?
What else will you need in order to complete the installation?
*If applicable to your order.
Download the PDF below for a complete step by step guide on how to install your inside mount blinds and for more information on how many brackets are required for your order.
4 min read
Let's make sure you have what you need!
What came with your blinds?
What else will you need in order to complete the installation?
*If applicable to your order.
Download the PDF below for a complete step by step guide on how to install your outside mount blinds and for more information on how many brackets are required for your order.
can an outside mount be trimmed later for a inside mount
Asked by Jon ·
Hi Jon, unfortunately, trimming a shade after purchase is not an option. Our shades are custom-made to your specifications, and making alterations to the shade would void the warranty. We recommend confirming your mounting preference and measurements before placing your order to ensure the best fit.
Answered by Blindster ·
What amount of space do you need for a inside mount on a top and bottom blind on the top
Asked by Roxane B ·
Hi Roxane, thank you for your question! The minimum depth required for these shades is 1 ½ inches for a standard installation and 2 1/8 inches for a flush mount. For an EZ Mount installation, you’ll need 3 inches of depth. Let us know if you have any further questions!
Answered by Blindster ·
Does the R-value of 3.5 include the R-value of a double pane window or is this the R-value for the shade only?
Asked by Julie ·
Hi Julie, thank you for your question! The R-value rating of 3.5 of solely applies to the shade. If you have any further questions, please feel free to give us a call, start a live chat or send us an email!
Answered by Blindster ·
4.8
Based on 305 reviews
Summarized by AI from customer reviews
Customers praise the excellent fit, durable fabric, and smooth operation of these shades, which they find easy to install in just minutes. The product looks beautiful while effectively filtering light and maintaining privacy, delivering exceptional value for the price. Many customers are so satisfied they plan to purchase more for other windows in their homes.
305 reviews
The blinds came quickly, installing was a snap. We love them!
Cynthia ·
Maryann, Madison, US ·
So easy to use
Laurel, Coshocton, US ·
I’m so happy with the value for these shades so far. I ordered both the super value TDBU and the delux shades. This is the super value in Tawny. The shade color is lovely, slightly more golden than I expected but fits my room. And looks nice with light passing through. Install was easy enough (one tiny bit harder than the deluxe. Yes the pulls aren’t as nice either but for the price these are great. If I could change anything I’d prefer the head and foot rails to match better instead of being pretty dark. Like a milk chocolate color.
Response from Blindster
We love hearing that you’re enjoying your new shades, Katie! We’re happy the Super Value Cordless Light Filtering Top Down Bottom Up Single Cellular Shades have delivered the style and functionality you were looking for at a great price. We also appreciate your suggestions regarding the operation and coordinating the headrail and bottom rail colors more closely. We’re always glad to hear what our customers would like to see improved. Thank you for trusting us with your window treatment project!
Katie ·
Michael, Indianapolis, US ·
I just love the no drill way to attach the blinds. The directions were odd, but I managed just fine. JP
Response from Blindster
Hi Joan! Thank you for sharing your experience! We're thrilled that you enjoyed the convenience of the EZ-Mount installation. We apologize if the directions weren't as clear as they could have been, and we'll be sure to share your feedback with our team. We appreciate your business and are glad installation worked out!
Joan, Phoenix, US ·
Real windows, in real homes
3 min read
Let's make sure an inside mount will work for your window! Using a metal tape measure, first check if you have sufficient depth:
How to Measure:
Let's start with the Width:
Now, let's do the Height:
Note: Always provide us with the actual measurement of the window opening. We will make the necessary deduction of approximately 1/4" to your shade's width to allow room for installation and for proper movement of the shade within the window opening. No deductions will be made to your height.
3 min read
Before you start measuring, decide where above your window opening you want to mount your shade. You will need at least 1 1/2" of flat vertical space above the window to mount the brackets. The shade can be installed directly above the window opening, or higher up to give the appearance of a larger window and to have more clear space in the window when the shade is raised.
If you have trim around the window, you can mount the shade above the trim, directly on the trim (if you have the required minimum flat space for the brackets), or to the sides of the trim if you do not have enough mounting space above the window or on the trim itself. See the directions below for how you'd like to install your shade.
If you do not have sufficient vertical space for mounting the brackets, please see our inside mount instructions or consider a different product.
Width:
Height:
Width:
Height:
Note: This product is not available with spacer blocks. We recommend considering another product for instances where the shade needs to project away from the wall to clear the window trim.
Width:
Height:
Width:
Height:
Note: This product is not available with hold down brackets (for attaching the bottom of the shade to the door to prevent swaying). We recommend considering a different product if installing on a door where the bottom of the shade is likely to swing back and forth.
2 min read
Let's make sure you have what you need!
What came with your blinds?
What else will you need in order to complete the installation?
*If applicable to your order.
Download the PDF below for a complete step by step guide on how to install your inside mount blinds and for more information on how many brackets are required for your order.
4 min read
Let's make sure you have what you need!
What came with your blinds?
What else will you need in order to complete the installation?
*If applicable to your order.
Download the PDF below for a complete step by step guide on how to install your outside mount blinds and for more information on how many brackets are required for your order.
40% off with your email code
Inside MountOutside MountCordless Top Down Bottom UpStandard InstallationEZ-Mount InstallationUnavailablePay over time with at checkout.