
Just hung blinds and they are beautiful. The room is warmer.
- Value of Product
- 5 out of 5
- Quality of Product
- 5 out of 5
- Ease of Installation
- 5 out of 5
Virginia, Olympia, US ·
10 Free Samples • 2-Day Rush $5
Financing Available
Fit Or Free Guarantee
Free Shipping
60-Day Satisfaction Guarantee
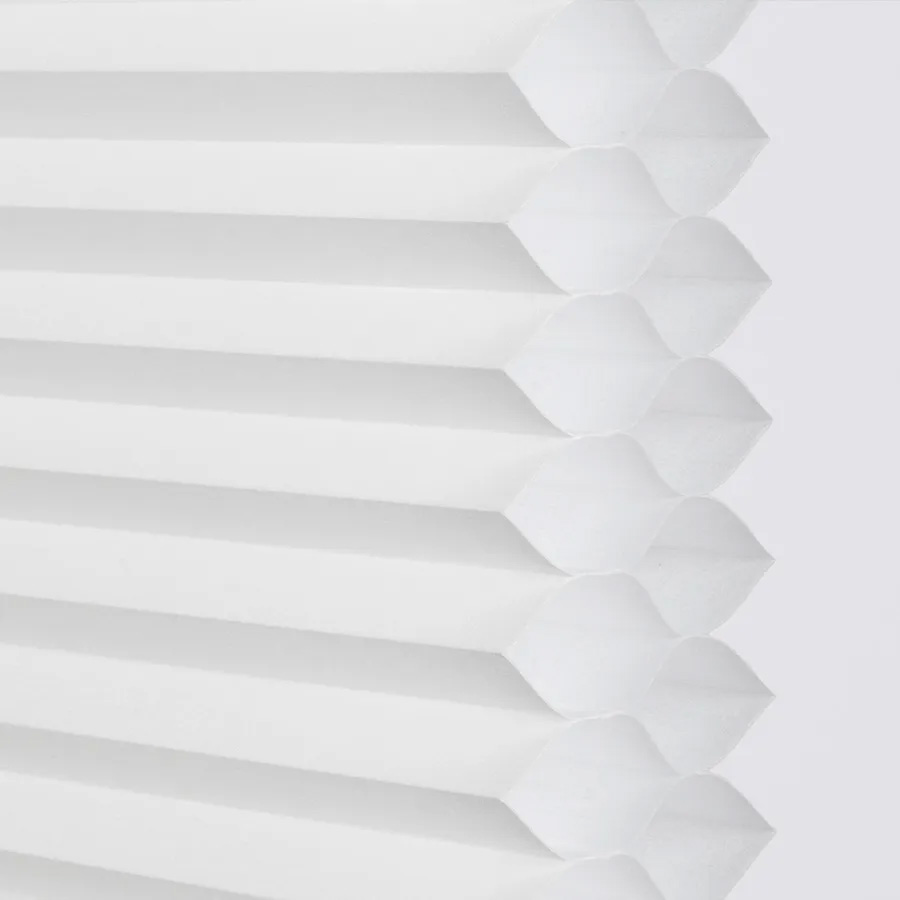 Shown in Cool White
Made to order, ships in 5–7 business days.
Unbeatable Price Guarantee
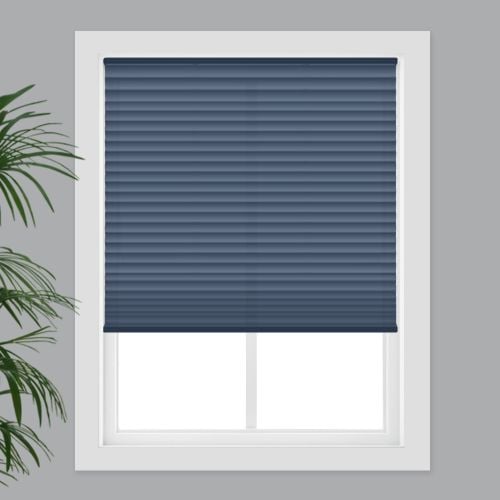 Inside Mount
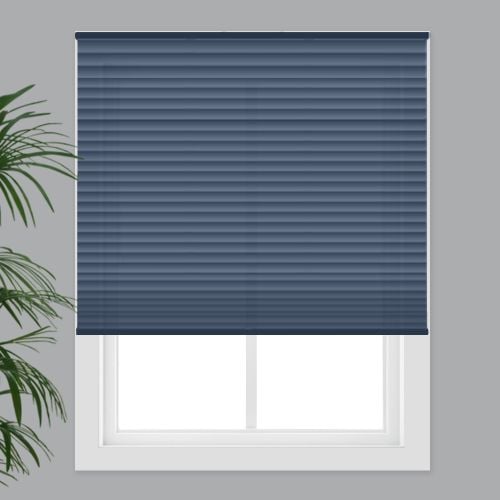 Outside Mount
Measurements to the nearest 1/8 inch.
Fit or Free Guarantee. If for any reason your window coverings don't fit, even if you make a mistake in measuring, we'll remake them in the size you need free of charge.
 Cordless
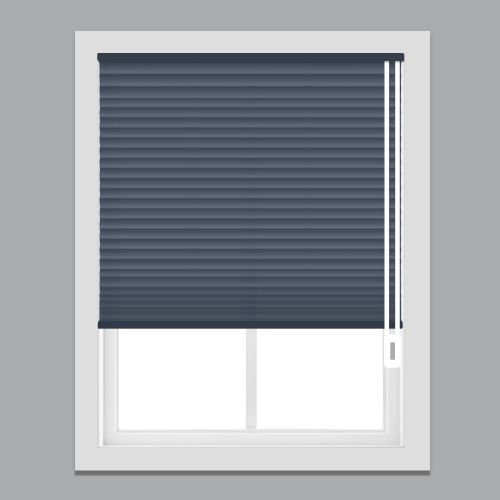 Continuous Cord Loop
 Cordless Top Down Bottom Up
 Battery-Powered Motorized
 Battery Powered Motorized Top Down/Bottom Up
 No Hub
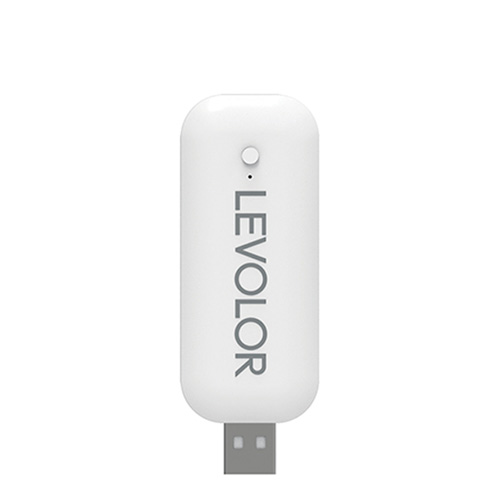 LEVOLOR Hub
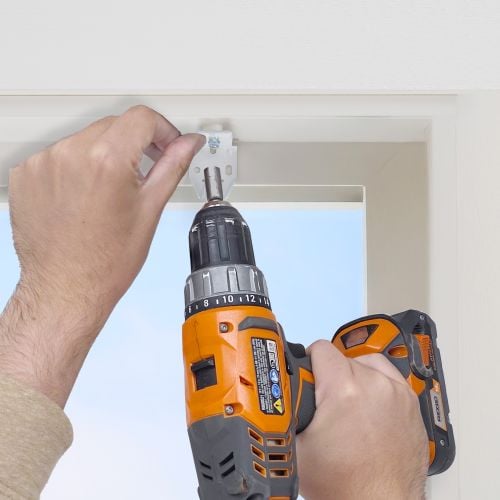 Standard Installation
 EasyMount Installation
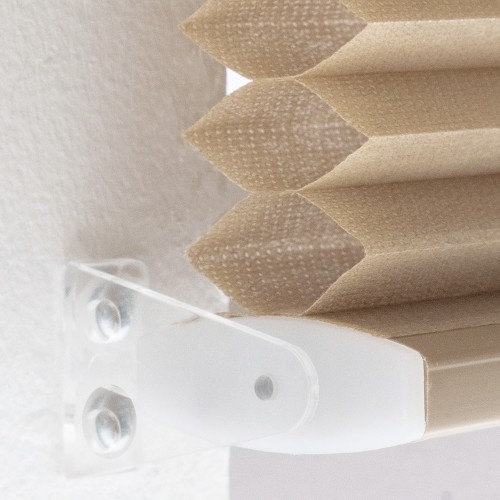 Yes Door Brackets
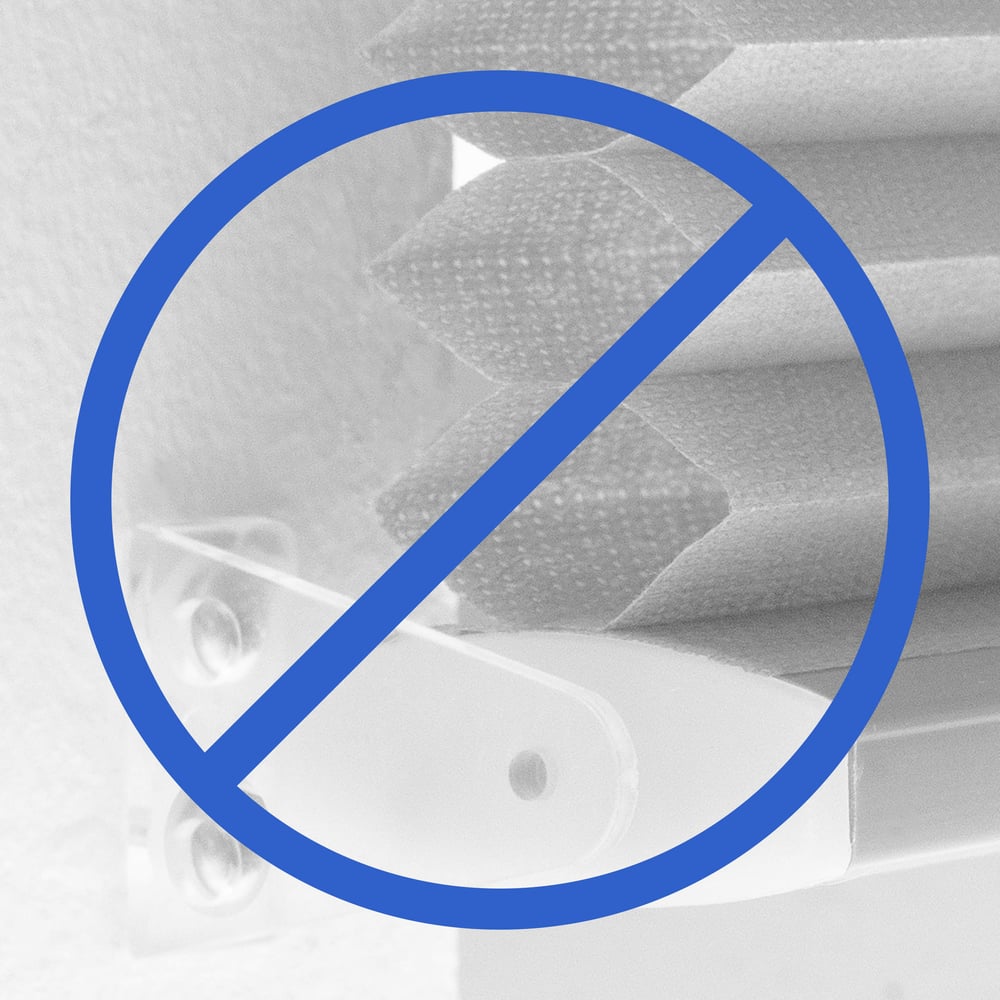 No Door Brackets
Pay over time with  at checkout.
Real windows, in real homes
Your home's windows provide character and a view to the outside, but they also let in heat in the summer and cold in the winter. Help insulate your home and save money with insulating LEVOLOR cellular shades. The double cell design of these shades provides exceptional insulating power to help lock in your indoor temperature. Choose the perfect size, color and lift system for your needs!
LEVOLOR double cellular shades not only complement your home's beauty but also help insulate your home by reducing heat transfer through your window. The stacked double honeycomb design of these shades provides an extra layer of protection in your home against heat loss in winter and heat gain in the summer. You'll save money on your energy bill and be more comfortable all year! Choose from a wide selection of decor-friendly colors to blend perfectly into each room. Then customize the size and lift system to fit not just your window but also your lifestyle. Cordless shades are easy to operate and look great with no dangling cords. If your windows are hard to reach, consider motorized lift for peak convenience and usability. Add in top-down/bottom up to either one for additional light control and privacy. Your new LEVOLOR double cellular shades are just a click away!
Get to know this shade:
Why you'll love this shade:
Key considerations:
Made to order, ships in 5–7 business days.

Grab the small clear handle to adjust the shade as needed.

Insulating/Energy Efficient
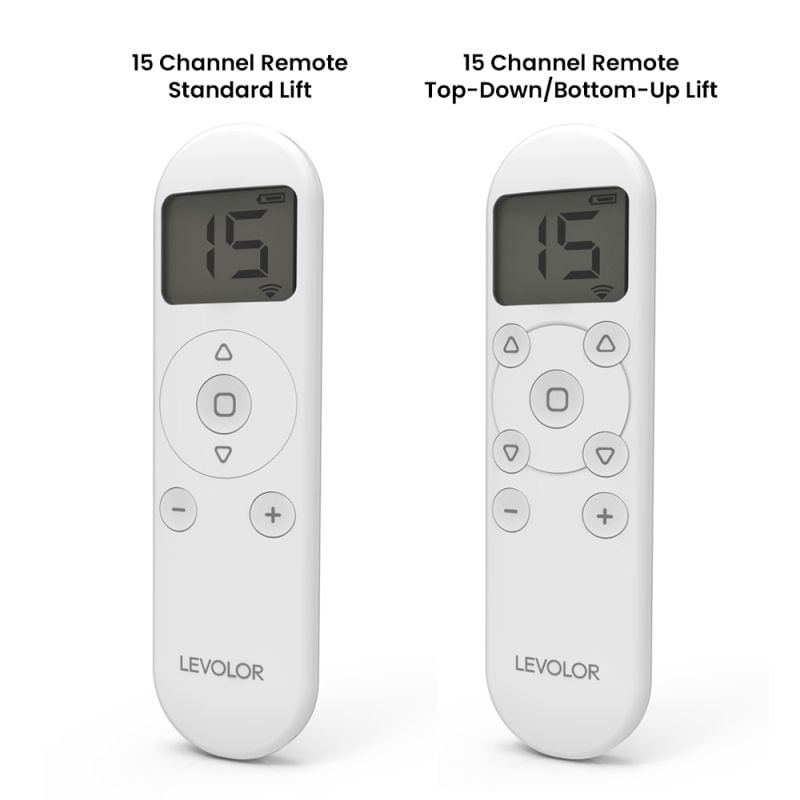
Efficiently operate your shades with the optional 15-channel battery powered remote.

Child & Pet Safety
1 ½ inches
1¼ inch (Standard Installation) & 3 inches (EasyMount Installation)
2 1/8 inches (Standard Installation) 3 inches (EasyMount Installation)
1 ½ inch height x 2 1/8 inches depth
Approximately ¼ inch headrail deduction and 3/8 inch fabric deduction
Fabric is made 1/8" less than width ordered; headrail will arrive at ordered width
½" high x 1 7/8" deep
98 feet
Powered by an integrated, rechargeable lithium-ion battery
Remote will only operate LEVOLOR motorized roman shades; other Blindster remotes will not operate the shades
At least 1 charger needs to be ordered
*Recharge time on a shade is 5 hours, chargers are not meant to be plugged into the shade long term.
3 min read
Let's make sure an inside mount will work for your window! Using a metal tape measure, first check if you have sufficient depth:
How to Measure:
Let's start with the Width:
Now, let's do the Height:
Note: Always provide us with the actual measurement of the window opening. We will make the necessary deduction of approximately 1/4" to your shade's headrail and 3/8" to the fabric width to allow room for installation and for proper movement of the shade within the window opening. No deductions will be made to your height.
3 min read
Before you start measuring, decide where above your window opening you want to mount your shade. You will need at least 1 1/2" of flat vertical space above the window to mount the brackets. The shade can be installed directly above the window opening, or higher up to give the appearance of a larger window and to have more clear space in the window when the shade is raised.
If you have trim around the window, you can mount the shade above the trim, directly on the trim (if you have the required minimum flat space for the brackets), or to the sides of the trim if you do not have enough mounting space above the window or on the trim itself. See the directions below for how you'd like to install your shade.
If you do not have sufficient vertical space for mounting the brackets, please see our inside mount instructions or consider a different product.
Width:
Height:
Width:
Height:
Note: We provide complimentary extension brackets upon request. These are used in conjunction with the standard installation brackets to position the shade away from the wall and prevent the shade from hitting the frame. Extension brackets add up to 4" of additional depth for installation.
Width:
Height:
Width:
Height:
Note: We carry complimentary hold-downs (door brackets) which can be requested during the ordering process. These should be installed for a successful door mount as they secure the shade at the bottom of the door so that it does not swing when the door opens and closes.
2 min read
Let's make sure you have what you need!
What came with your blinds?
What else will you need in order to complete the installation?
*If applicable to your order.
Download the PDF below for a complete step by step guide on how to install your inside mount blinds based on your lift type and for more information on how many brackets are required for your order.
4 min read
Let's make sure you have what you need!
What came with your blinds?
What else will you need in order to complete the installation?
*If applicable to your order.
Download the PDF below for a complete step by step guide on how to install your outside mount blinds based on your lift type and for more information on how many brackets are required for your order.
Does the double cell light filtering shade allow less light through than the single cell light filtering shade?
Asked by Kimberly ·
Hi Kimberly, thank you for your question! The two-layer construction ensures more effective light control as well as enhanced insulation. If you have any further questions, please feel free to give us a call, start a live chat or send us an email!
Answered by Blindster ·
will the bottom up/top down cellular shades gather at the bottom of the window?
Asked by James h ·
Hi James, thank you for your question! Yes, the LEVOLOR Light Filtering Double Cellular Shades with the top down/bottom up lift option can be fully lowered towards the bottom of the window. This gives you the flexibility to let in natural light from the top while maintaining privacy below. Let us know if you have any further questions!
Answered by Blindster ·
for larger widths, do you have to use two hands to pull down or lift up the cordless shades, or can you use one hand and not have the shades skew as you lift with one hand? in other words are the internal lift cords synchronized so that the whole base stays level no matter how you lift?
Asked by B ·
Hello B, thank you for your question! For the LEVOLOR Light Filtering Double Cellular Shades, when any shades are greater than 42" you will receive two handles to lower and raise the shades so we would recommend using two hands to operate the shade(s). If you have any further questions, please feel free to give us a call, start a live chat or send us an email!
Answered by Blindster ·
Photos from our showroom
4.5
Based on 19 reviews
Summarized by AI from customer reviews
Customers appreciate the excellent performance and functionality of these shades, which operate smoothly and reliably. The easy installation process makes setup convenient for users of all skill levels. The product delivers both practical functionality and an attractive appearance that enhances any room's decor.
19 reviews
Just hung blinds and they are beautiful. The room is warmer.
Virginia, Olympia, US ·
These Levolor shades are very nice and not that difficult to install.
Response from Blindster
We love hearing this, Anthony! It’s wonderful to know you’re happy with the look of your new cellular shades and that installation went smoothly. We appreciate you trusting us with your window treatment needs and hope you enjoy your new shades for years to come!
Anthony, Hatfield, US ·
This company will not let you make a mistake I did not realize I had measured wrong until the customer service people stayed on me to remeasure. Great service Great product that fit and is so well made
Response from Blindster
Hi Jackie, we love hearing feedback like this! We're thrilled that our customer service team could help you double-check your measurements and ensure your new window coverings were made to fit perfectly. We want our customers to feel confident throughout the ordering process, and we're happy that extra attention made a difference. Thank you for trusting us with your order and for your kind words about the quality of our products. We hope you enjoy your new shades for years to come!
Jackie, Winchester, US ·
The new shades look so much better than the old Levolor single cellular shades, and the color is perfect. They do have 2 small problems. 1. There is a sixteenth of an inch gap at the top between shades and window header. 2. The shade bottom metal piece rubs against the sides of the window opening, is about an eighth of an inch too wide.
David, East Port Orchard, US ·
The blind's deserve a 5 th star. But because the glue from the stickers on every blind is harder to remove then the blind is to install. The stickers are visible after installation 18 blind's times 2. That's 36 glue. Tried lighter fluid, 2 different nail polish remover, jewelry cleaner, mineral spirits and lacquar thinner. Oh 2 of the other stickers pull right off with a little care
Response from Blindster
Hi Gary, thank you for your review and for your honest feedback! We’re happy to hear your LEVOLOR Light Filtering Double Cellular Shades are performing well and that the installation process was straightforward. We’re sorry to hear the stickers and adhesive residue were frustrating to remove. We appreciate you sharing your experience. Thank you again for choosing Blindster and we hope you continue to enjoy your new shades!
Gary, Temperance, US ·
I shopped a lot for replacement shades to find corded ones. I couldn't open the cordless kind to the top of the windows because of my kitchen counter adding distance. Guessed at the color as I didn't want bright white. The customer service reached out to ask if I wanted swatches before they started production. Good thing!!! I needed a darker shade than I had ordered. I had a deadline for installation and I was amazed at how quickly they arrived. I was only a little disappointed about the tether bracket but my installer was able to adapt something with a bit of plastic to make it work I have suggested they add photos and measurements of the bracket that only works on the inside edge of the inner frame. The value bars below are stuck in "fair". The value is "excellent."
Response from Blindster
Hi Susan, thank you for the wonderful review! It means a lot to hear that our team was able to assist you in selecting the right color before your order went into production. We always want our customers to be completely happy with their purchase, and we're glad the samples helped you make the best choice. We also appreciate your comments about the tension bracket and the suggestion to provide additional photos and measurements. Feedback like yours helps us identify opportunities to improve our product information and installation resources. Thank you again for choosing us and for taking the time to share your experience!
Susan, New York City, US ·
3 min read
Let's make sure an inside mount will work for your window! Using a metal tape measure, first check if you have sufficient depth:
How to Measure:
Let's start with the Width:
Now, let's do the Height:
Note: Always provide us with the actual measurement of the window opening. We will make the necessary deduction of approximately 1/4" to your shade's headrail and 3/8" to the fabric width to allow room for installation and for proper movement of the shade within the window opening. No deductions will be made to your height.
3 min read
Before you start measuring, decide where above your window opening you want to mount your shade. You will need at least 1 1/2" of flat vertical space above the window to mount the brackets. The shade can be installed directly above the window opening, or higher up to give the appearance of a larger window and to have more clear space in the window when the shade is raised.
If you have trim around the window, you can mount the shade above the trim, directly on the trim (if you have the required minimum flat space for the brackets), or to the sides of the trim if you do not have enough mounting space above the window or on the trim itself. See the directions below for how you'd like to install your shade.
If you do not have sufficient vertical space for mounting the brackets, please see our inside mount instructions or consider a different product.
Width:
Height:
Width:
Height:
Note: We provide complimentary extension brackets upon request. These are used in conjunction with the standard installation brackets to position the shade away from the wall and prevent the shade from hitting the frame. Extension brackets add up to 4" of additional depth for installation.
Width:
Height:
Width:
Height:
Note: We carry complimentary hold-downs (door brackets) which can be requested during the ordering process. These should be installed for a successful door mount as they secure the shade at the bottom of the door so that it does not swing when the door opens and closes.
2 min read
Let's make sure you have what you need!
What came with your blinds?
What else will you need in order to complete the installation?
*If applicable to your order.
Download the PDF below for a complete step by step guide on how to install your inside mount blinds based on your lift type and for more information on how many brackets are required for your order.
4 min read
Let's make sure you have what you need!
What came with your blinds?
What else will you need in order to complete the installation?
*If applicable to your order.
Download the PDF below for a complete step by step guide on how to install your outside mount blinds based on your lift type and for more information on how many brackets are required for your order.
40% off with your email code
Inside MountOutside MountCordlessContinuous Cord Loop+$18.61Cordless Top Down Bottom Up+$103.89Battery-Powered Motorized+$416.83Battery Powered Motorized Top Down/Bottom UpUnavailableNo HubUnavailableLEVOLOR HubUnavailableStandard InstallationEasyMount InstallationUnavailableYes Door BracketsUnavailableNo Door BracketsPay over time with at checkout.