
- Value of Product
- 5 out of 5
- Quality of Product
- 4 out of 5
- Ease of Installation
- 4 out of 5
Vikki, Minneapolis, US ·
10 Free Samples • 2-Day Rush $5
Financing Available
Fit Or Free Guarantee
Free Shipping
60-Day Satisfaction Guarantee
 Shown in Stately Pine
Made to order, ships in 5–7 business days.
Unbeatable Price Guarantee
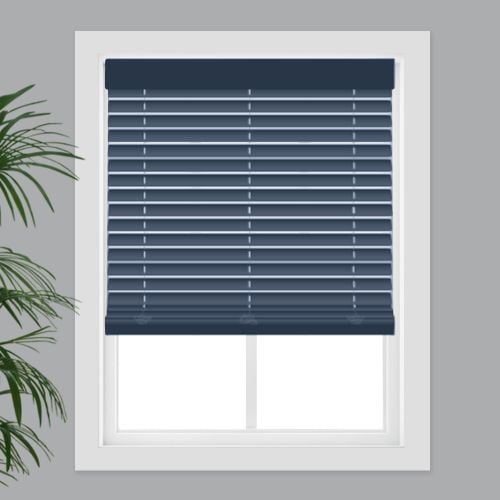 Inside Mount
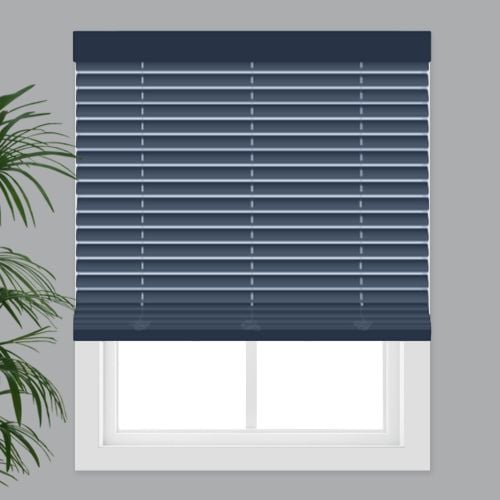 Outside Mount
Measurements to the nearest 1/8 inch.
Fit or Free Guarantee. If for any reason your window coverings don't fit, even if you make a mistake in measuring, we'll remake them in the size you need free of charge.
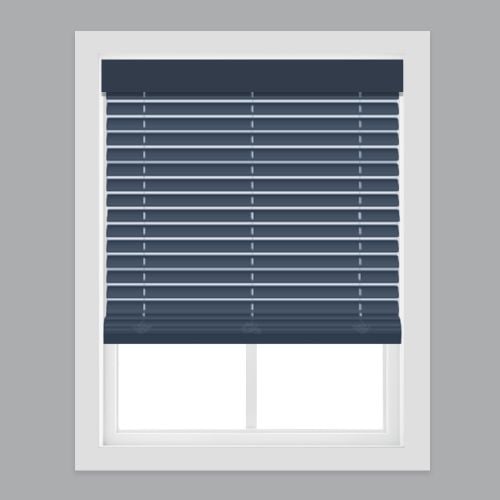 Standard
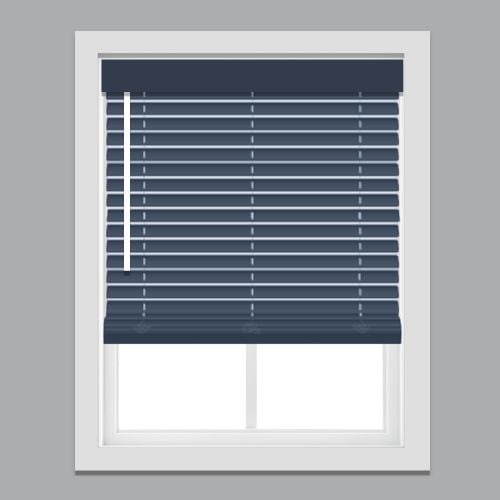 Wand Tilt
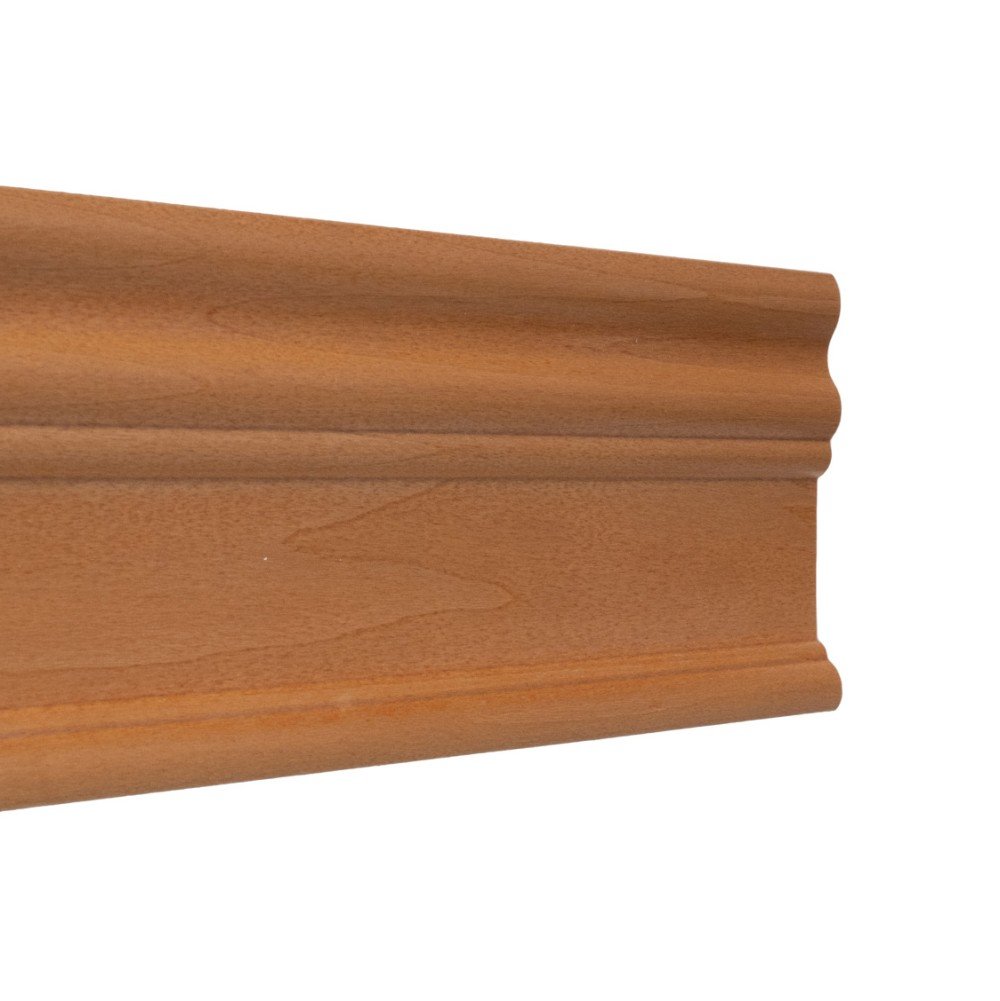 3" Standard Valance
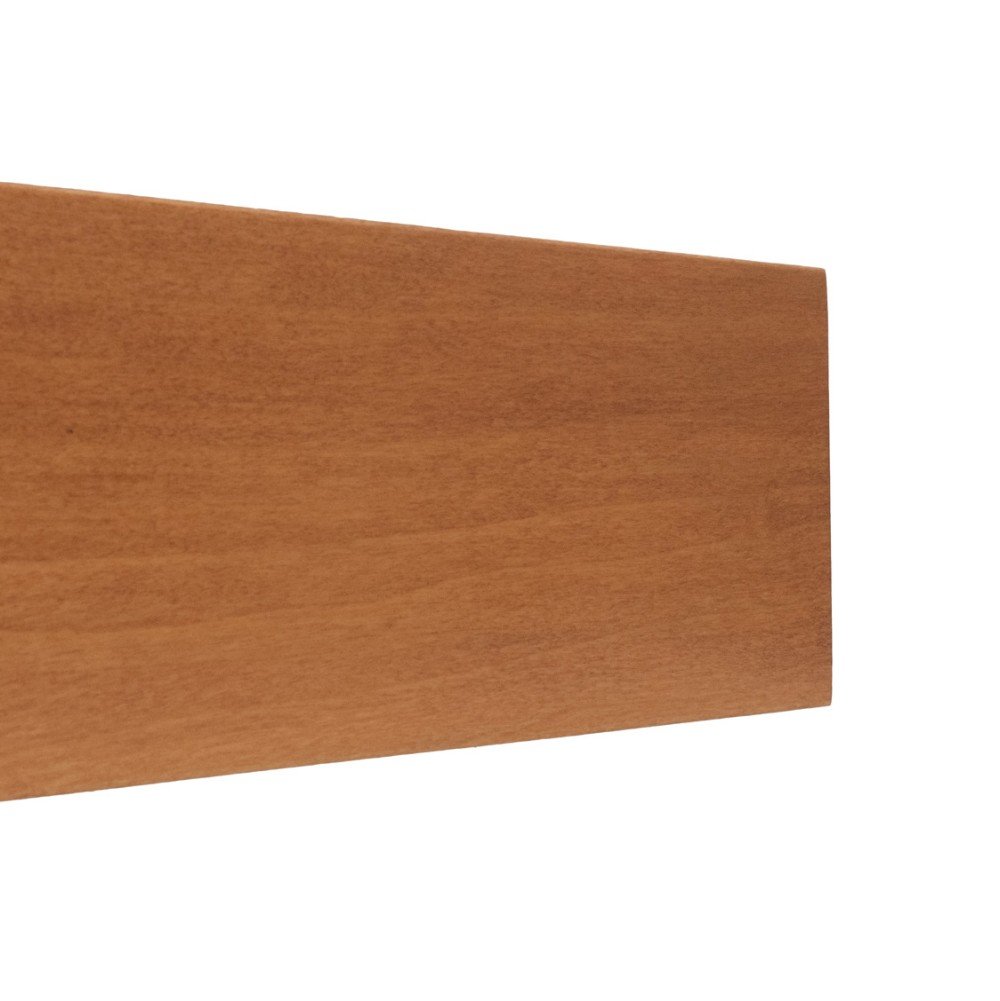 3" Modern Valance
Pay over time with  at checkout.
Real windows, in real homes
With the ability to exude both warmth and class there is no wonder why this blind is a consistent bestseller. Regardless of how you choose to customize it, the result is a refreshingly lightweight, elegant, real wood blind that will stand the test of time.
Our Deluxe Wood Blinds check all the boxes when it comes to style, function and performance. You already love the traditional appeal and easy operation of a wood blind – great looks, excellent light and privacy control and they're decor-friendly. Now meet our Deluxe wood blinds – they start with what you love and then add on even more great features to outshine the off-the-shelf and run-of-the-mill blinds you'll see elsewhere. Magnetic valance clips that are strong, adjustable and easy to install? Check! Cordless lift for safe and easy operation? Done! Mitered and glued valance returns on outside mount blinds? You got it! It even has adjusters at the ends of the headrail to prevent any wiggling of the blind after it's installed. And did we mention they look incredible?
Get to know this blind:
Why you'll love this blind:
Key considerations:
Great for:Living RoomBedroomOfficeKitchenDining RoomEntry WayUtility Room
Made to order, ships in 5–7 business days.
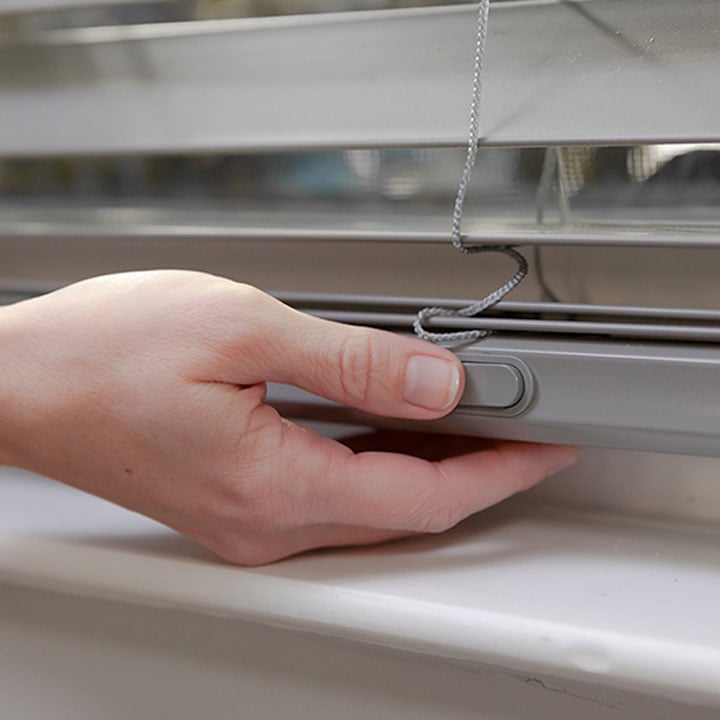
Simply press & hold button lifts and lowers your blind with ease.
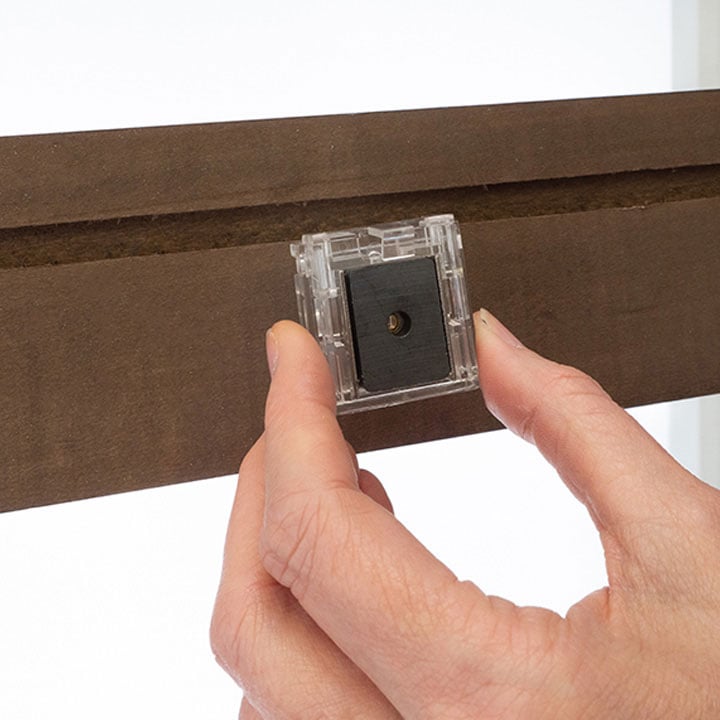
Instead of plastic clips, back of valance has hidden magnets for an efficient installation.

Real wood slats treated with UV inhibitors to help protect from sun-induced fading.
1 1/8 inches
3 ½ inches
1 ½ (high) x 2 ¼ inch (deep) metal headrail
¾ inch (high) x 2 inches (deep)
3 inches
1 ¾ inches
3 inches
3 3/8 inches
Approximately ¾ inch off of the headrail
Approximately ½ inch off of the rest of the blind
Approximately ¼ inch off the headrail only
Let's make sure an inside mount will work for your window! Using a metal tape measure, first check if you have sufficient depth:
How to Measure:
Let's start with the Width:
Now, let's do the Height:
Note: Always provide us with the actual measurement of the window opening. We will make the necessary deduction of approximately 1/2" to your blind's width (and 3/4" for the headrail) to allow room for installation and for proper movement of the blind within the window opening. No deductions will be made to your height.
3 min read
Before you start measuring, decide where above your window opening you want to mount your blind. You will need at least 1 3/4" of flat vertical space above the window to mount the brackets. The blind can be installed directly above the window opening, or higher up to give the appearance of a larger window and to have more clear space in the window when the blind is raised.
If you have trim around the window, you can mount the blind above the trim, directly on the trim (if you have the required minimum flat space for the brackets), or to the sides of the trim if you do not enough mounting space above the window or on the trim itself. See the directions below for how you'd like to install your blind.
If you do not have sufficient vertical space for mounting the brackets, please see our inside mount instructions or consider a different product.
Width:
Height:
Width:
Height:
Note: We provide complimentary spacer blocks upon request. These go behind the installation brackets to position the blind away from the wall and prevent the blind from hitting the frame. Spacer blocks add an additional 3/8" of depth for installation. Note that the valance returns (the side pieces that wrap around the headrail) will be made 3/8" longer when requesting spacer blocks.
Width:
Height:
Width:
Height:
Note: We carry complimentary hold-downs (door brackets) which can be requested during the ordering process. These should be installed for a successful door mount as they secure the blind at the bottom of the door so that it does not swing when the door opens and closes
Let's make sure you have what you need!
What came with your blinds?
What else will you need in order to complete the installation?
*If applicable to your order. Regarding center support brackets- if your window is greater than 48" wide you will have two end brackets and one center support bracket. If your window is greater than 60" wide you will have two end brackets and two center support brackets.
Download the PDF below for a complete step by step guide on how to install your inside mount blinds.
Let's make sure you have what you need!
What came with your blinds?
What else will you need in order to complete the installation?
*If applicable to your order. Regarding center support brackets- if your window is greater than 48" wide you will have two end brackets and one center support bracket. If your window is greater than 60" wide you will have two end brackets and two center support brackets.
Download the PDF below for a complete step by step guide on how to install your outside mount blinds.
Do you sell separately the clips for securing the 3" valance to the top of the blinds?
Asked by CHRISTINE B ·
Thank you for reaching out! If you have an existing order with us, our customer service team would be happy to assist you with your question about replacement valance clips. Please feel free to contact us at [email protected] or 1-888-256-8672, Monday through Friday, 8 a.m. to 5 p.m. CST. We're happy to help!
Answered by Blindster ·
how long to receive new blinds
Asked by Ray ·
Hi Ray, thank you for your interest in our blinds! Each product page includes an estimated ship date, which reflects when your order is expected to leave our production facility. Once shipped, delivery typically takes approximately 5–7 business days. Let us know if you have any further questions!
Answered by Blindster ·
Can you do repairs? I bought blinds from you quite a few years ago and the strings are all messed up.
Asked by Sharon ·
Hi Sharon, thank you for your question! We do not offer a repair service, however feel free to reach out to us at [email protected] or 1-888-256-8672, Mon-Fri 8a-5p CST. We'd be happy to check if your order is under warranty or whether the Accident Protection Plan was purchased. We look forward to hearing from you!
Answered by Blindster ·
4.8
Based on 1,217 reviews
Summarized by AI from customer reviews
Customers appreciate the precise fit that arrives exactly as measured and installs effortlessly in minutes without professional assistance. They praise the high-quality wood construction, smooth operation, and elegant appearance that enhances any room's décor. The durable design and exceptional value have made many customers so satisfied they purchase additional sets for other windows.
1,217 reviews
Vikki, Minneapolis, US ·
I ordered a total of 8 Deluxe Wood Blinds. I was extremely pleased with the quality of this product! Each one was a perfect fit. They shipped quickly and were packaged well. The installation was a breeze and they look beautiful in our cabin. Highly recommend!!
Fay, Iron Mountain, US ·
Perfect fit, easy to install.
Response from Blindster
Hi Kathleen! Thank you for the great review! We're delighted that everything fit just right and that you had a smooth installation experience. We appreciate you trusting Blindster with your window treatment needs!
Kathleen, Nashville, US ·
Installation went without a problem, they look great. will probably buy more.
Response from Blindster
Hi Allen! We're so glad to hear installation went smoothly and that your new blinds look great! We'd love the opportunity to help with your next project whenever you're ready. Thank you for choosing Blindster and sharing your experience!
Allen, Dorris, US ·
I had a fairly large order, (10) windows total. So Initially I had some concern ordering blinds on line. However, they gave detailed instructions on how to measure. After submitting, the measurements I received a notice that the blinds went on sale with additional savings and I received a credit. These blinds are easy to install and look beautiful. In addition, I was told that if I had made a mistake on any measurements, those blinds would be replaced at. I cost. I didn’t have that problem, but nice to have that assurance. I highly recommend this supplier.
Response from Blindster
Hi Timothy! We're thrilled to hear that your experience exceeded your expectations! We're glad our measuring instructions made the process easier, that we could help you take advantage of additional savings, and that your new blinds look beautiful. We want our customers to feel confident ordering custom window treatments, and our Fit or Free Guarantee is one way we help provide that peace of mind. Thank you for your kind recommendation and for trusting Blindster with your project!
Timothy, Saint Paul, US ·
Perfect fit and ease of installation!
Response from Blindster
Hi Gavin! We're so happy to hear that your blinds fit perfectly and were easy to install! Thank you for choosing Blindster. We appreciate your business and hope you enjoy your new window treatments for years to come!
Gavin ·
Real windows, in real homes
Let's make sure an inside mount will work for your window! Using a metal tape measure, first check if you have sufficient depth:
How to Measure:
Let's start with the Width:
Now, let's do the Height:
Note: Always provide us with the actual measurement of the window opening. We will make the necessary deduction of approximately 1/2" to your blind's width (and 3/4" for the headrail) to allow room for installation and for proper movement of the blind within the window opening. No deductions will be made to your height.
3 min read
Before you start measuring, decide where above your window opening you want to mount your blind. You will need at least 1 3/4" of flat vertical space above the window to mount the brackets. The blind can be installed directly above the window opening, or higher up to give the appearance of a larger window and to have more clear space in the window when the blind is raised.
If you have trim around the window, you can mount the blind above the trim, directly on the trim (if you have the required minimum flat space for the brackets), or to the sides of the trim if you do not enough mounting space above the window or on the trim itself. See the directions below for how you'd like to install your blind.
If you do not have sufficient vertical space for mounting the brackets, please see our inside mount instructions or consider a different product.
Width:
Height:
Width:
Height:
Note: We provide complimentary spacer blocks upon request. These go behind the installation brackets to position the blind away from the wall and prevent the blind from hitting the frame. Spacer blocks add an additional 3/8" of depth for installation. Note that the valance returns (the side pieces that wrap around the headrail) will be made 3/8" longer when requesting spacer blocks.
Width:
Height:
Width:
Height:
Note: We carry complimentary hold-downs (door brackets) which can be requested during the ordering process. These should be installed for a successful door mount as they secure the blind at the bottom of the door so that it does not swing when the door opens and closes
Let's make sure you have what you need!
What came with your blinds?
What else will you need in order to complete the installation?
*If applicable to your order. Regarding center support brackets- if your window is greater than 48" wide you will have two end brackets and one center support bracket. If your window is greater than 60" wide you will have two end brackets and two center support brackets.
Download the PDF below for a complete step by step guide on how to install your inside mount blinds.
Let's make sure you have what you need!
What came with your blinds?
What else will you need in order to complete the installation?
*If applicable to your order. Regarding center support brackets- if your window is greater than 48" wide you will have two end brackets and one center support bracket. If your window is greater than 60" wide you will have two end brackets and two center support brackets.
Download the PDF below for a complete step by step guide on how to install your outside mount blinds.
40% off with your email code
Inside MountOutside MountStandard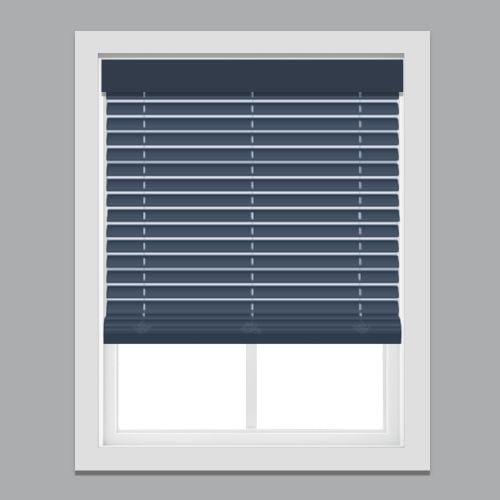 SafeLock CordlessWand Tilt3" Standard Valance3" Modern Valance
Pay over time with at checkout.