
The width was great. The lengths too short about an inch an inch and a half
- Value of Product
- 5 out of 5
- Quality of Product
- 5 out of 5
- Ease of Installation
- 5 out of 5
Larry, Utica, US ·
10 Free Samples • 2-Day Rush $5
Financing Available
Fit Or Free Guarantee
Free Shipping
60-Day Satisfaction Guarantee
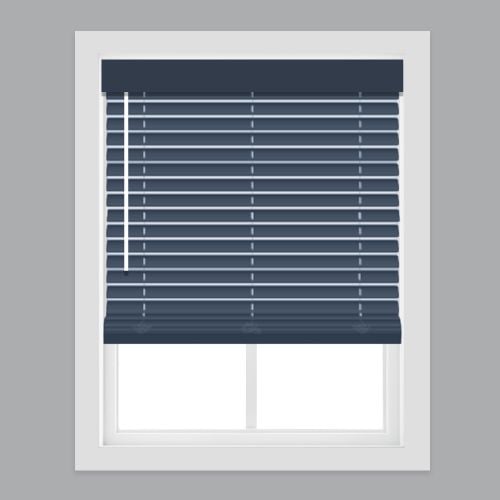
 Shown in Dark Gray
Made to order, ships in 3–5 business days.
Unbeatable Price Guarantee
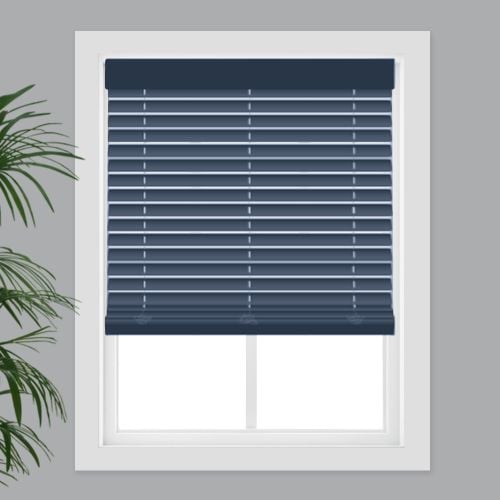 Inside Mount
 Outside Mount
Measurements to the nearest 1/8 inch.
Fit or Free Guarantee. If for any reason your window coverings don't fit, even if you make a mistake in measuring, we'll remake them in the size you need free of charge.
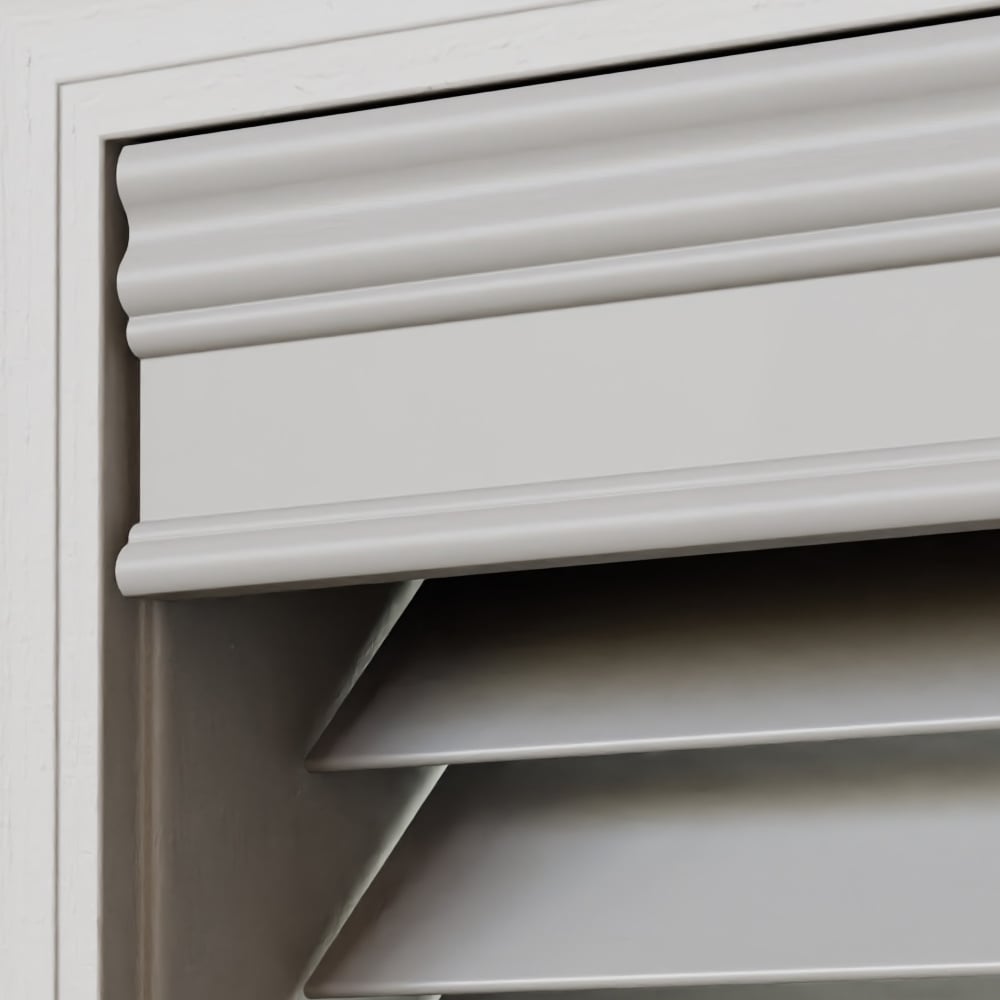 3" Decorative Valance
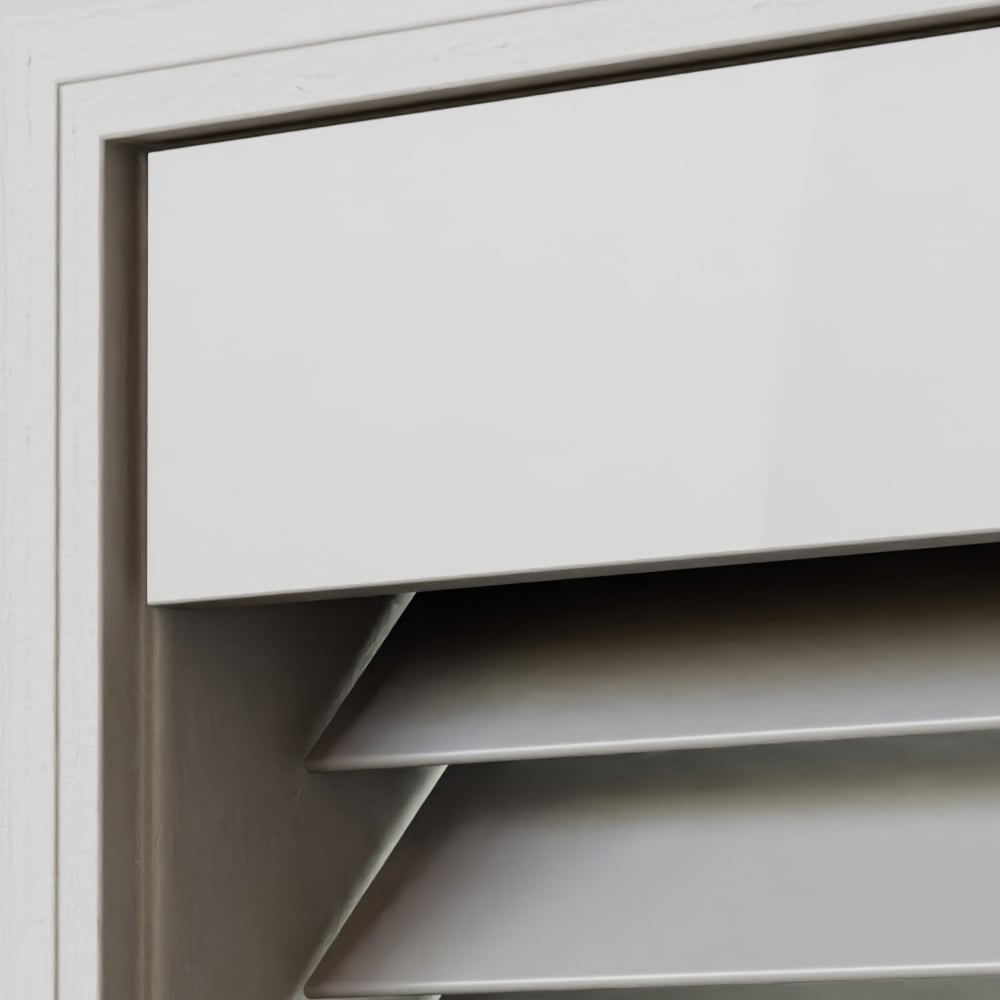 3" Modern Valance
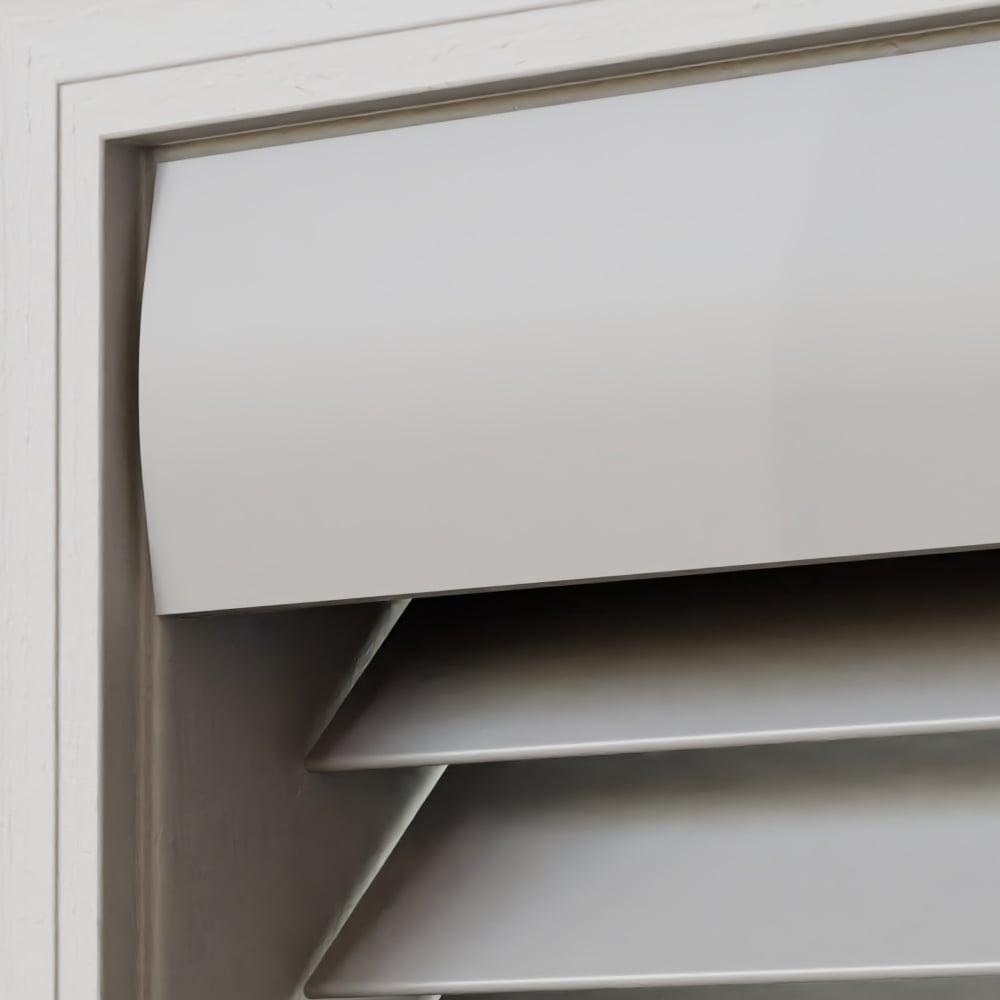 3" Crescent Valance
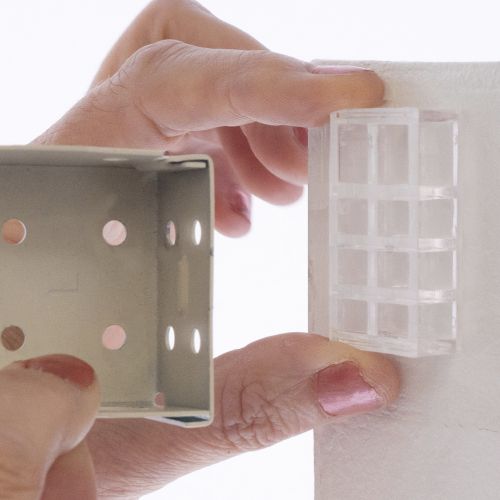 Yes
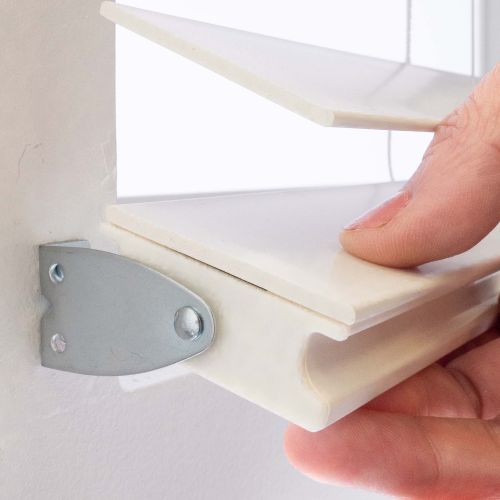 Yes Door Brackets
Pay over time with  at checkout.
Real windows, in real homes
Go with this faux and no one else will know it isn't the real deal. These 2-inch window blinds are Blindster's most popular blinds for windows of any room, featuring high-grade slats, cordless lift, and magnetic valance attachment. Choose from solid, embossed, or real grain colorways and find the perfect faux wood blinds for any type of decor — backed by our Fit-or-Free® Guarantee and 60-Day Satisfaction Guarantee.
Sometimes only the best will do, and our best faux wood blind is our 2" Premium Cordless Faux Wood. This blind delivers on a wide range of customizable features, with top-of-the-line components for easy and reliable operation built right in. First-class touches include a magnetic valance clip for simple and secure installation, mitered and glued valance for outside mount blinds, and a cordless lift system that can handle even the largest blinds with ease. On top of that, our Premium Faux Wood offers our widest assortment of color options for you to choose the blind that will look and function beautifully in any room of your home – even humid locations like bathrooms and kitchens thanks to the moisture resistant components..
Get to know this blind:
Why you'll love this blind:
Key considerations:
Great for:Living RoomBedroomOfficeKitchenDining RoomMedia RoomBathroomEntry WayUtility Room
Made to order, ships in 3–5 business days.
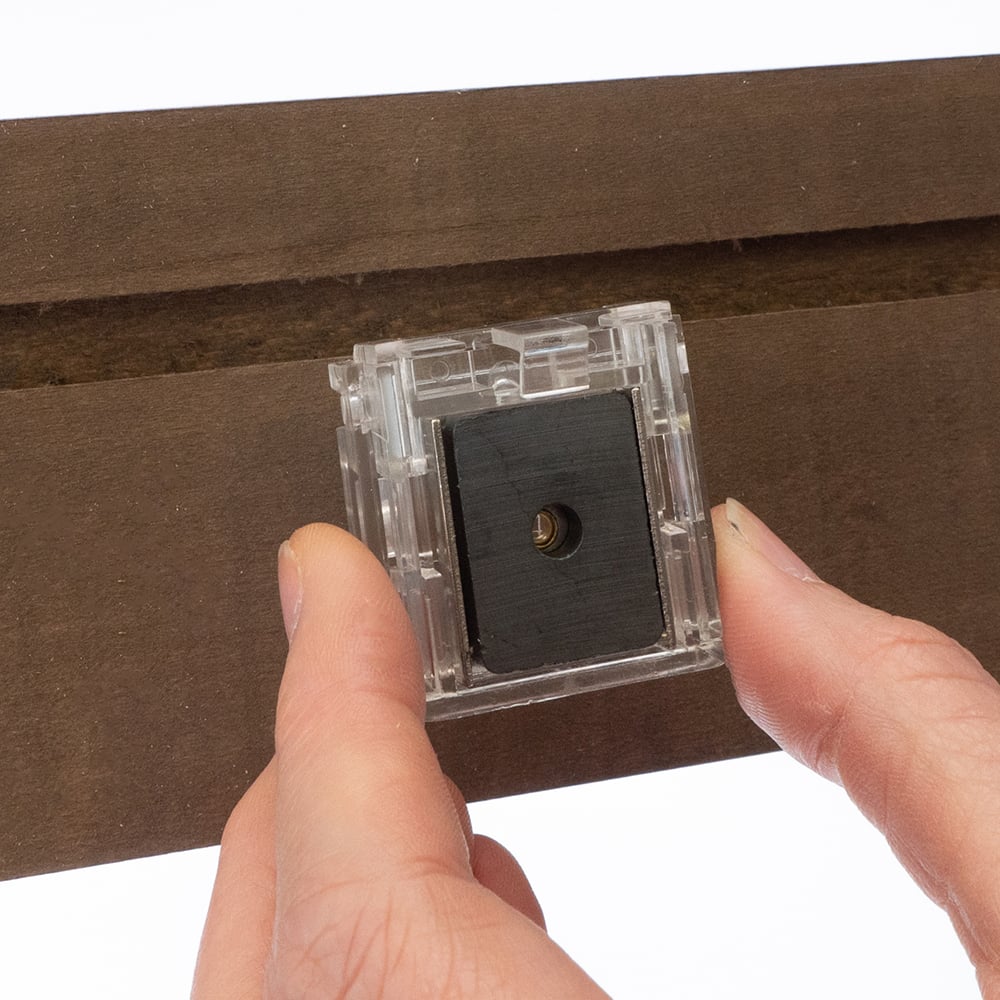
Instead of plastic clips, back of valance has hidden magnets for an efficient installation

Simply move the bottom rail to lift and lower your blind with ease

Faux wood slats treated with UV inhibitors to help protect from sun-induced fading and warping
1 1/8 inches
3 ½ inches
1 ¾ inches
Approximately ¾ inch (Headrail) & ½ inch (Blind)
Approximately ¼ inch
1 ½ inches x 2 1/4 inches
1/2" (high) x 2" (deep)
3 inches
3 inches
3 min read
Let's make sure an inside mount will work for your window! Using a metal tape measure, first check if you have sufficient depth:
How to Measure:
Let's start with the Width:
Now, let's do the Height:
Note: Always provide us with the actual measurement of the window opening. We will make the necessary deduction of approximately 1/2" to your blind's width (and 3/4" for the headrail) to allow room for installation and for proper movement of the blind within the window opening. No deductions will be made to your height.
3 min read
Before you start measuring, decide where above your window opening you want to mount your blind. You will need at least 1 3/4" of flat vertical space above the window to mount the brackets. The blind can be installed directly above the window opening, or higher up to give the appearance of a larger window and to have more clear space in the window when the blind is raised.
If you have trim around the window, you can mount the blind above the trim, directly on the trim (if you have the required minimum flat space for the brackets), or to the sides of the trim if you do not enough mounting space above the window or on the trim itself. See the directions below for how you'd like to install your blind.
If you do not have sufficient vertical space for mounting the brackets, please see our inside mount instructions or consider a different product.
Width:
Height:
Width:
Height:
Note: We provide complimentary spacer blocks upon request. These go behind the installation brackets to position the blind away from the wall and prevent the blind from hitting the frame. Spacer blocks add an additional 3/8" of depth for installation. Note that the valance returns (the side pieces that wrap around the headrail) will be made 3/8" longer when requesting spacer blocks.
Width:
Height:
Width:
Height:
Note: We carry complimentary hold-downs (door brackets) which can be requested during the ordering process. These should be installed for a successful door mount as they secure the blind at the bottom of the door so that it does not swing when the door opens and closes.
2 min read
Let's make sure you have what you need!
What came with your blinds?
What else will you need in order to complete the installation?
*If applicable to your order. Regarding center support brackets- if your window is greater than 48" wide you will have two end brackets and one center support bracket. If your window is greater than 60" wide you will have two end brackets and two center support brackets.
Download the PDF below for a complete step by step guide on how to install your inside mount blinds.
4 min read
Let's make sure you have what you need!
What came with your blinds?
What else will you need in order to complete the installation?
*If applicable to your order. Regarding center support brackets- if your window is greater than 48" wide you will have two end brackets and one center support bracket. If your window is greater than 60" wide you will have two end brackets and two center support brackets.
Download the PDF below for a complete step by step guide on how to install your outside mount blinds.
Upgrade your home with cordless faux wood blinds, a perfect blend of style, durability, and functionality. These blinds offer the timeless look of real wood while providing the lasting durability of faux wood, making them an ideal choice for various window treatments.
Cordless Design – Enjoy a clear view with an easy-to-use raise and lower mechanism that enhances safety, especially for kids.
Wand Tilt Control – Effortlessly adjust the slats to control privacy and light filtering.
Inside Mount Compatibility – Designed for a sleek and seamless look within the window frame.
Moisture Resistance – Ideal for bathrooms and kitchens, resisting warping and ensuring lasting durability.
Elegant Valance – Adds a refined touch to enhance your home’s beauty.
These 2 inch cordless faux wood blinds are designed to complement any home décor while offering privacy and superior light control. Available in a variety of colors, they allow you to choose the perfect match for your space. The faux wood construction ensures resistance to moisture, making them an excellent choice for high-humidity areas.
Whether you're upgrading your living room, bedroom, bathrooms, or kitchens, these cordless 2 inch faux wood blinds provide a feature-rich solution to elevate your interiors. Their inside mount design ensures a precise fit, while the smooth tilt function allows you to customize light exposure with ease.
Enjoy the classic charm of wood blinds without the maintenance concerns. These faux wood 2 inch cordless blinds offer superior durability and are crafted to withstand everyday wear and tear. Designed for privacy, they are a safe and stylish window solution.
Explore the premium selection and choose the best window treatment to complement your home today.
Are these faux wood blinds easy to install myself?
Yes. These 2-inch cordless faux wood blinds include all mounting hardware and step-by-step instructions for both inside and outside mounts — most homeowners install a window in 15–20 minutes with a drill, screwdriver, and tape measure.
What makes these different from real wood blinds?
The engineered PVC construction resists warping, fading, and moisture the way real wood can't, while looking and feeling like the real thing — at a lower price point than genuine wood blinds.
Can I get a sample before I order?
Yes. Blindster ships up to 10 free fabric and finish samples within one business day so you can compare the colorway against your walls and trim before ordering.
Where can I get plastic clips to hold the valance on?
Asked by David ·
Hi David, thank you for your question! Our 2 Inch Premium Cordless Faux Wood Blinds use magnetic valance clips so it sounds like you may need valance clips from a different collection. Feel free to contact our customer service at [email protected] or 1-888-256-8672, Mon-Fri 8a-5p CST.
Answered by Blindster ·
Are these room darkening?
Asked by John ·
Hi John, thank you for your interest in our blinds! These blinds are not room darkening, however, our Deluxe collection offers a unique patented design allows the slats on this blind to close flat to reduce light seepage improve privacy. If you have any further questions, please feel free to give us a call, start a live chat or send us an email!
Answered by Blindster ·
how can I get additonal valances & mounting brackets for my 2" premium wood blinds? I got my blinds from blindster a few years ago I just need more mounting brackets & new valances
Asked by Kim a ·
Hi Kim, thank you for your question! It appears that you ordered our wood blinds and not faux wood blinds. It would be best to contact us at [email protected] or give us a call at 1-888-256-8672 (Mon–Fri, 8a–5p CST) for further assistance.
Answered by Blindster ·
4.8
Based on 2,499 reviews
Summarized by AI from customer reviews
Customers love the easy installation, perfect fit, and high-quality faux wood appearance that looks expensive and enhances any room with a clean, custom look. The cordless design and realistic finish are standout features that exceed expectations, with many customers ordering additional sets and recommending them to friends and family. Customers consistently praise the excellent value, durability, fast shipping, and effortless setup that make them thrilled with their purchase.
2,499 reviews
The width was great. The lengths too short about an inch an inch and a half
Larry, Utica, US ·
I would like to commend "Maribel" of (Blindster Support) for assisting me with an issue I had in reference to installation. She was knowledgable, very pleasant to speak with on the phone, and kept me informed throughout the entire process. I wish that all companies emulated your customer support service, and had employees like "Maribel." The blinds look, and work great. Thank you.
Thomas, Philadelphia, US ·
Excellent!
Jan, Palm Desert, US ·
Rahila, New York City, US ·
The blinds are great quality and fit my big kitchen window perfect!
Response from Blindster
Hi Lorenda! We're thrilled the blinds are great quality and fit your big kitchen window perfectly. Thanks for sharing your experience!
Lorenda, Hartford, US ·
all blinds were a perfect fit
Response from Blindster
Hi Jerry! Thank you for the great feedback! We're thrilled that all your blinds fit just as expected. We appreciate you trusting Blindster with your window treatment needs and hope you enjoy your new blinds!
Jerry ·
Real windows, in real homes
3 min read
Let's make sure an inside mount will work for your window! Using a metal tape measure, first check if you have sufficient depth:
How to Measure:
Let's start with the Width:
Now, let's do the Height:
Note: Always provide us with the actual measurement of the window opening. We will make the necessary deduction of approximately 1/2" to your blind's width (and 3/4" for the headrail) to allow room for installation and for proper movement of the blind within the window opening. No deductions will be made to your height.
3 min read
Before you start measuring, decide where above your window opening you want to mount your blind. You will need at least 1 3/4" of flat vertical space above the window to mount the brackets. The blind can be installed directly above the window opening, or higher up to give the appearance of a larger window and to have more clear space in the window when the blind is raised.
If you have trim around the window, you can mount the blind above the trim, directly on the trim (if you have the required minimum flat space for the brackets), or to the sides of the trim if you do not enough mounting space above the window or on the trim itself. See the directions below for how you'd like to install your blind.
If you do not have sufficient vertical space for mounting the brackets, please see our inside mount instructions or consider a different product.
Width:
Height:
Width:
Height:
Note: We provide complimentary spacer blocks upon request. These go behind the installation brackets to position the blind away from the wall and prevent the blind from hitting the frame. Spacer blocks add an additional 3/8" of depth for installation. Note that the valance returns (the side pieces that wrap around the headrail) will be made 3/8" longer when requesting spacer blocks.
Width:
Height:
Width:
Height:
Note: We carry complimentary hold-downs (door brackets) which can be requested during the ordering process. These should be installed for a successful door mount as they secure the blind at the bottom of the door so that it does not swing when the door opens and closes.
2 min read
Let's make sure you have what you need!
What came with your blinds?
What else will you need in order to complete the installation?
*If applicable to your order. Regarding center support brackets- if your window is greater than 48" wide you will have two end brackets and one center support bracket. If your window is greater than 60" wide you will have two end brackets and two center support brackets.
Download the PDF below for a complete step by step guide on how to install your inside mount blinds.
4 min read
Let's make sure you have what you need!
What came with your blinds?
What else will you need in order to complete the installation?
*If applicable to your order. Regarding center support brackets- if your window is greater than 48" wide you will have two end brackets and one center support bracket. If your window is greater than 60" wide you will have two end brackets and two center support brackets.
Download the PDF below for a complete step by step guide on how to install your outside mount blinds.
40% off with your email code
Inside MountOutside Mount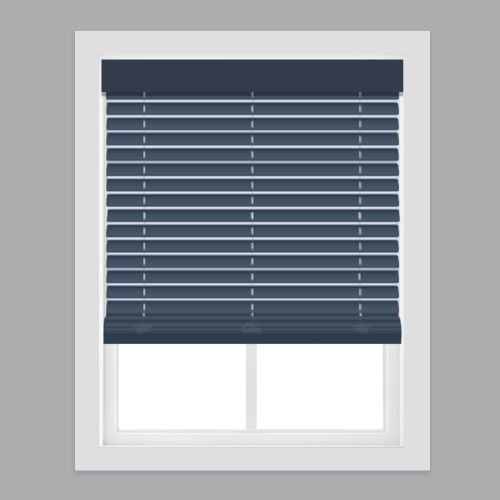 Cordless
 Wand Tilt3" Decorative Valance3" Modern Valance3" Crescent ValanceYesUnavailableYes Door BracketsUnavailable
Pay over time with at checkout.