
Blinds
I really like the blinds. Nice quality. A bit hard to pull down but they won't be up often since the slant.
- Value of Product
- 4 out of 5
- Quality of Product
- 4 out of 5
- Ease of Installation
- 4 out of 5
Jody, Denver, US ·
10 Free Samples • 2-Day Rush $5
Financing Available
Fit Or Free Guarantee
Free Shipping
60-Day Satisfaction Guarantee
 Shown in White
Made to order, ships in 3–5 business days.
Unbeatable Price Guarantee
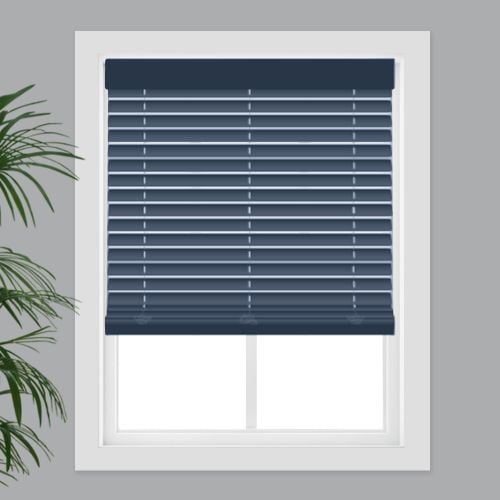 Inside Mount
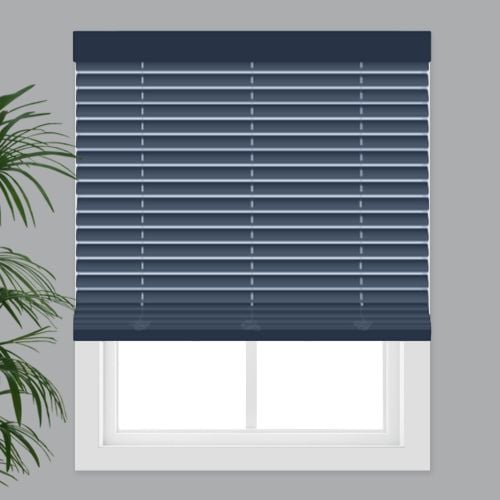 Outside Mount
Measurements to the nearest 1/8 inch.
Fit or Free Guarantee. If for any reason your window coverings don't fit, even if you make a mistake in measuring, we'll remake them in the size you need free of charge.
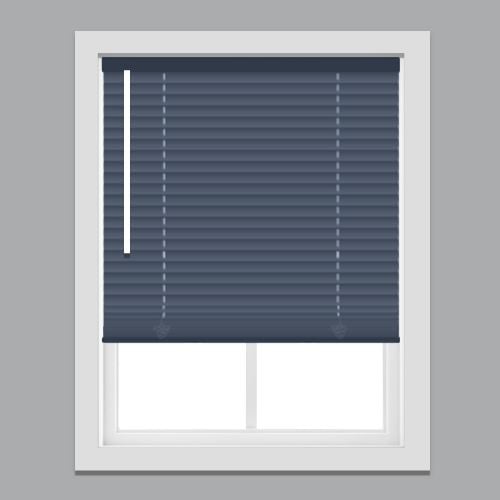 Wand Tilt
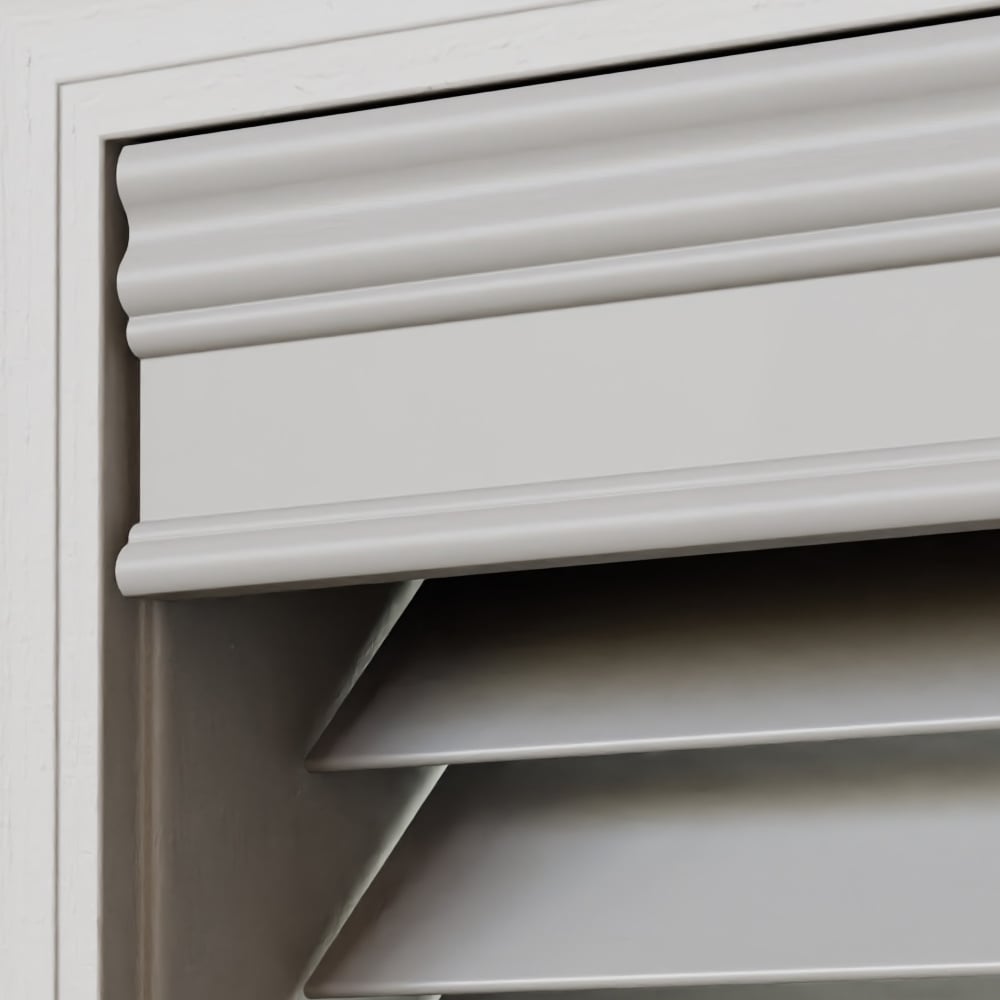 3" Decorative Valance
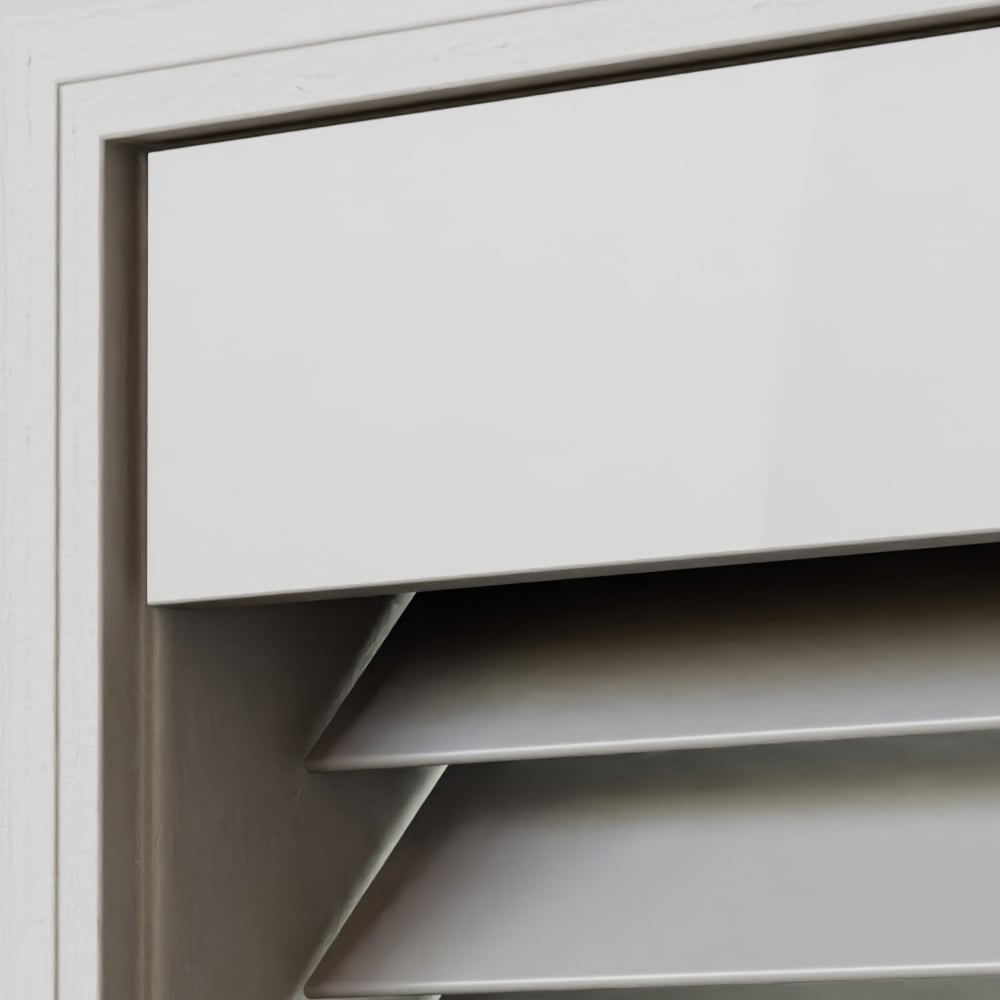 3" Modern Valance
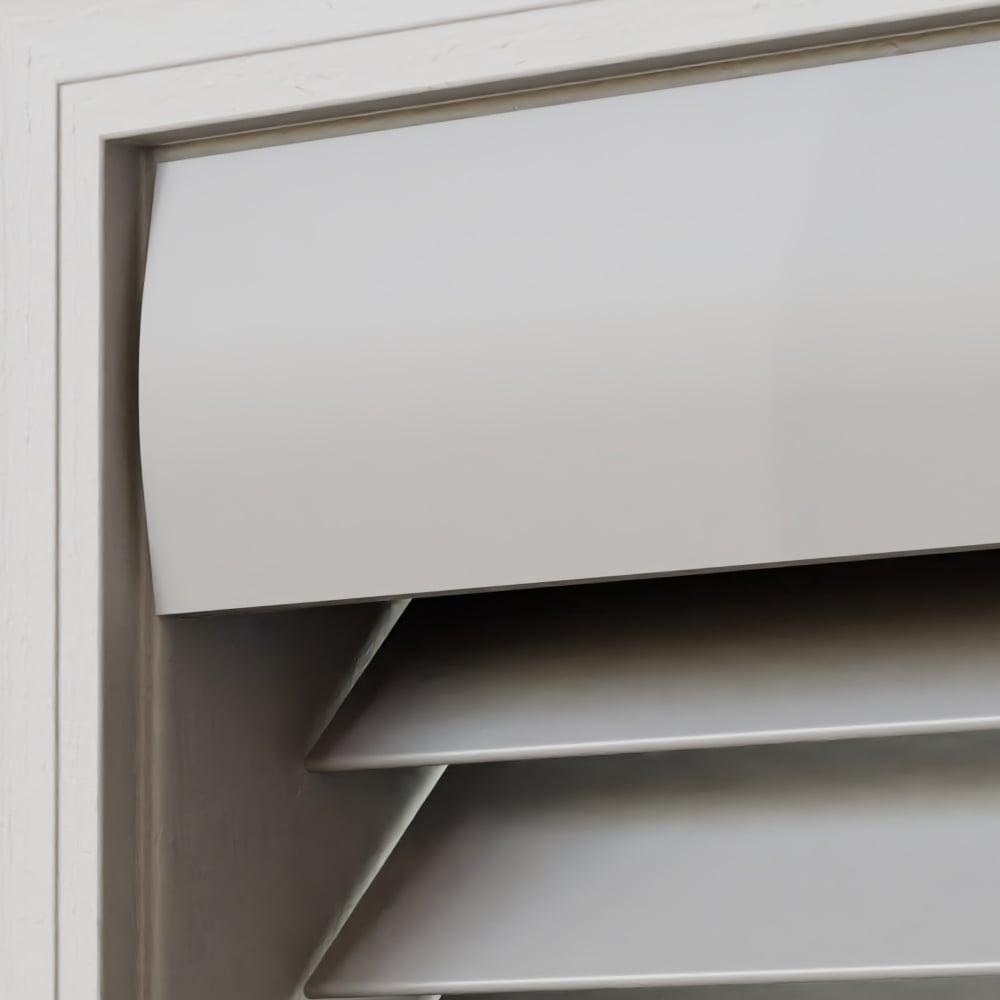 3" Crescent Valance
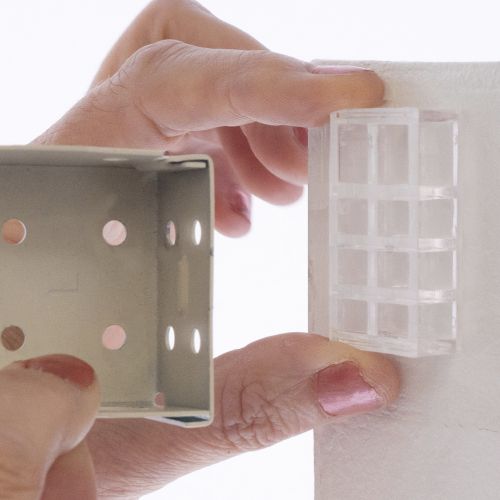 Yes Spacer Blocks
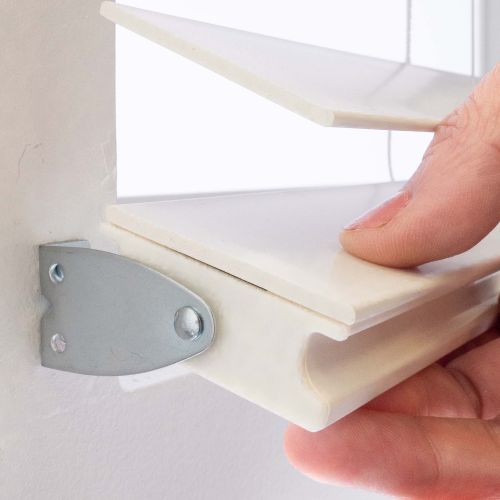 Yes Door Brackets
Pay over time with  at checkout.
Real windows, in real homes
Great view-through when you want it – and complete privacy when you need it! That's the winning combination of our 2 1/2" Premium Cordless Faux Wood Blinds. These blinds are the perfect upgrade for your windows, featuring cordless lift and top-rated design and components.
Our 2 1/2" Premium Cordless Faux Wood Blinds feature a fresh modern design with wider slats than standard blinds. This means few slats in your window and a clearer view to the outside. These blinds are great in any window but are especially well-proportioned for larger windows, as they keep the design less "busy". The blinds welcome in the sunshine but are also ready to provide complete privacy and excellent light blocking when needed. The bottom rail is a trapezoid shape to better contour your window sill when the blinds are closed and provide a flatter, tighter closure. There are plenty of high-value features in these blinds, including easy to install and extra-secure magnetic valance attachments, reliable internal mechanisms, and mitered and glued valance returns on outside mount blinds for a truly premium look.
Get to know this shade:
Why you'll love this shade:
Key considerations:
Great for:Living RoomBedroomOfficeKitchenDining RoomMedia RoomBathroomEntry WayUtility Room
Made to order, ships in 3–5 business days.
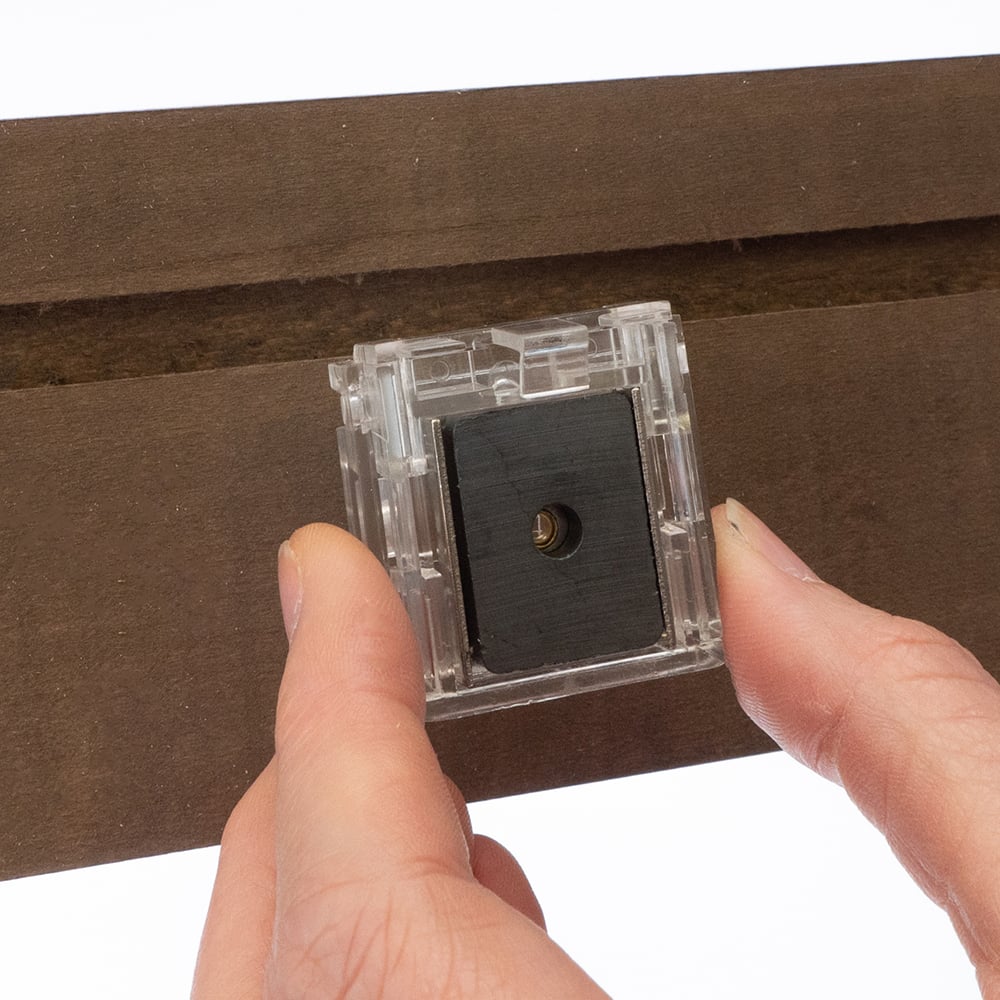
Instead of plastic clips, back of valance has hidden magnets for an efficient installation

Simply move the bottom rail to lift and lower your blind with ease

Faux wood slats treated with UV inhibitors to help protect from sun-induced fading and warping
1 ¼ inches
3 ¾ inches
1 ¾ inches
Approximately ¾ inch (Headrail) & ½ inch (Blind)
Approximately ¼ inch
3 inches
1 ½ inches (high) x 2 3/8 inches (deep)
¾ inches (high) x 1 ¾ inches (deep)
3 9/16 inches
3 min read
Let's make sure an inside mount will work for your window! Using a metal tape measure, first check if you have sufficient depth:
How to Measure:
Let's start with the Width:
Now, let's do the Height:
Note: Always provide us with the actual measurement of the window opening. We will make the necessary deduction of approximately 1/2" to your blind's width (and 3/4" for the headrail) to allow room for installation and for proper movement of the blind within the window opening. No deductions will be made to your height.
3 min read
Before you start measuring, decide where above your window opening you want to mount your blind. You will need at least 1 3/4" of flat vertical space above the window to mount the brackets. The blind can be installed directly above the window opening, or higher up to give the appearance of a larger window and to have more clear space in the window when the blind is raised.
If you have trim around the window, you can mount the blind above the trim, directly on the trim (if you have the required minimum flat space for the brackets), or to the sides of the trim if you do not enough mounting space above the window or on the trim itself. See the directions below for how you'd like to install your blind.
If you do not have sufficient vertical space for mounting the brackets, please see our inside mount instructions or consider a different product.
Width:
Height:
Width:
Height:
Note: We provide complimentary spacer blocks upon request. These go behind the installation brackets to position the blind away from the wall and prevent the blind from hitting the frame. Spacer blocks add an additional 3/8" of depth for installation. Note that the valance returns (the side pieces that wrap around the headrail) will be made 3/8" longer when requesting spacer blocks.
Width:
Height:
Width:
Height:
Note: We carry complimentary hold-downs (door brackets) which can be requested during the ordering process. These should be installed for a successful door mount as they secure the blind at the bottom of the door so that it does not swing when the door opens and closes.
Let's make sure you have what you need!
What came with your blinds?
What else will you need in order to complete the installation?
*If applicable to your order.
Download the PDF below for a complete step by step guide on how to install your inside mount blinds.
Let's make sure you have what you need!
What came with your blinds?
What else will you need in order to complete the installation?
*If applicable to your order.
Download the PDF below for a complete step by step guide on how to install your outside mount blinds.
4.7
Based on 28 reviews
Summarized by AI from customer reviews
Customers praise the excellent quality and beautiful appearance of these blinds, noting they work smoothly and fit perfectly in their homes. The product is consistently recognized as a great value that arrives quickly, with many customers expressing their intention to purchase again. The easy installation and overall craftsmanship make this a highly satisfying choice for window treatments.
28 reviews
I really like the blinds. Nice quality. A bit hard to pull down but they won't be up often since the slant.
Jody, Denver, US ·
I am very pleased with my blind, great quality and they were delivered in exact time frame as noted on website. I would highly recommend Blindster to anyone looking for new blinds.
Response from Blindster
Hi Nina! Thank you for the wonderful review and recommendation! We're so happy to hear you're pleased with the quality of your new blind and that it shipped within the timeframe provided on our website. We appreciate you choosing Blindster and sharing your positive experience with others!
Nina, Ormond Beach, US ·
Four screws and boom--They are up! Wow. Sturdy and look great.The valence (sp?) with a magnet and clip is brilliant. Love these blinds Worth every penny.
Response from Blindster
Hi Kyle! Thank you for the wonderful feedback! We're thrilled that your new blinds look great, feel sturdy, and were so easy to install. It's great to hear you're enjoying the valance design, too! Knowing you feel your purchase was worth every penny means a lot to us. We appreciate your business!
Kyle, New Paltz, US ·
Blinds for great and are a great purchase for the price
Response from Blindster
Hi Lyndsie! We're happy to hear you're pleased with your purchase! It's wonderful knowing your blinds fit just right and that you're enjoying the quality and value. Thank you for trusting Blindster with your window treatment needs!
Lyndsie ·
Doris, Seattle, US ·
The fit was perfect and the install was easy. We have 27’ of Pella windows in our Sun Room and the blinds look great!
Response from Blindster
Hi Tim, That’s wonderful to hear! Thanks for sharing your experience and for shopping with Blindster!
Tim, Hooker, US ·
Real homes, and our showroom
3 min read
Let's make sure an inside mount will work for your window! Using a metal tape measure, first check if you have sufficient depth:
How to Measure:
Let's start with the Width:
Now, let's do the Height:
Note: Always provide us with the actual measurement of the window opening. We will make the necessary deduction of approximately 1/2" to your blind's width (and 3/4" for the headrail) to allow room for installation and for proper movement of the blind within the window opening. No deductions will be made to your height.
3 min read
Before you start measuring, decide where above your window opening you want to mount your blind. You will need at least 1 3/4" of flat vertical space above the window to mount the brackets. The blind can be installed directly above the window opening, or higher up to give the appearance of a larger window and to have more clear space in the window when the blind is raised.
If you have trim around the window, you can mount the blind above the trim, directly on the trim (if you have the required minimum flat space for the brackets), or to the sides of the trim if you do not enough mounting space above the window or on the trim itself. See the directions below for how you'd like to install your blind.
If you do not have sufficient vertical space for mounting the brackets, please see our inside mount instructions or consider a different product.
Width:
Height:
Width:
Height:
Note: We provide complimentary spacer blocks upon request. These go behind the installation brackets to position the blind away from the wall and prevent the blind from hitting the frame. Spacer blocks add an additional 3/8" of depth for installation. Note that the valance returns (the side pieces that wrap around the headrail) will be made 3/8" longer when requesting spacer blocks.
Width:
Height:
Width:
Height:
Note: We carry complimentary hold-downs (door brackets) which can be requested during the ordering process. These should be installed for a successful door mount as they secure the blind at the bottom of the door so that it does not swing when the door opens and closes.
Let's make sure you have what you need!
What came with your blinds?
What else will you need in order to complete the installation?
*If applicable to your order.
Download the PDF below for a complete step by step guide on how to install your inside mount blinds.
Let's make sure you have what you need!
What came with your blinds?
What else will you need in order to complete the installation?
*If applicable to your order.
Download the PDF below for a complete step by step guide on how to install your outside mount blinds.
40% off with your email code
Inside MountOutside MountWand Tilt3" Decorative Valance3" Modern Valance3" Crescent ValanceYes Spacer BlocksUnavailableYes Door BracketsUnavailablePay over time with at checkout.
We’re looking for blinds with tape. We bought them from you previously, but now can’t seem to find any on your sight with tape?
Asked by Ann ·
Not answered yet.
We would like to have cords with our blinds. Can we order our faux wood blinds with cords?
Asked by Anna ·
Hello Anna, thank you for your question! Corded blinds were eliminated industry-wide in 2024 so we can no longer manufacture them. If you have any further questions, please feel free to give us a call, start a live chat or send us an email!
Answered by Blindster ·
How are the premium different than the lower priced blinds?
Asked by Ernie ·
Hello Ernie, thank you for your interest in our 2 1/2 Inch Premium Cordless Faux Wood Blinds. These blinds can be made at a larger width and height than most of our other blinds, there's 3 valance options to choose from, the minimum depth for an inside mount is 1 ¼ inches, you can choose which side you'd like to place the wand on and it comes in different colors than most of our other blinds as well. If you have any further questions, please feel free to give us a call, start a live chat or send us an email!
Answered by Blindster ·